


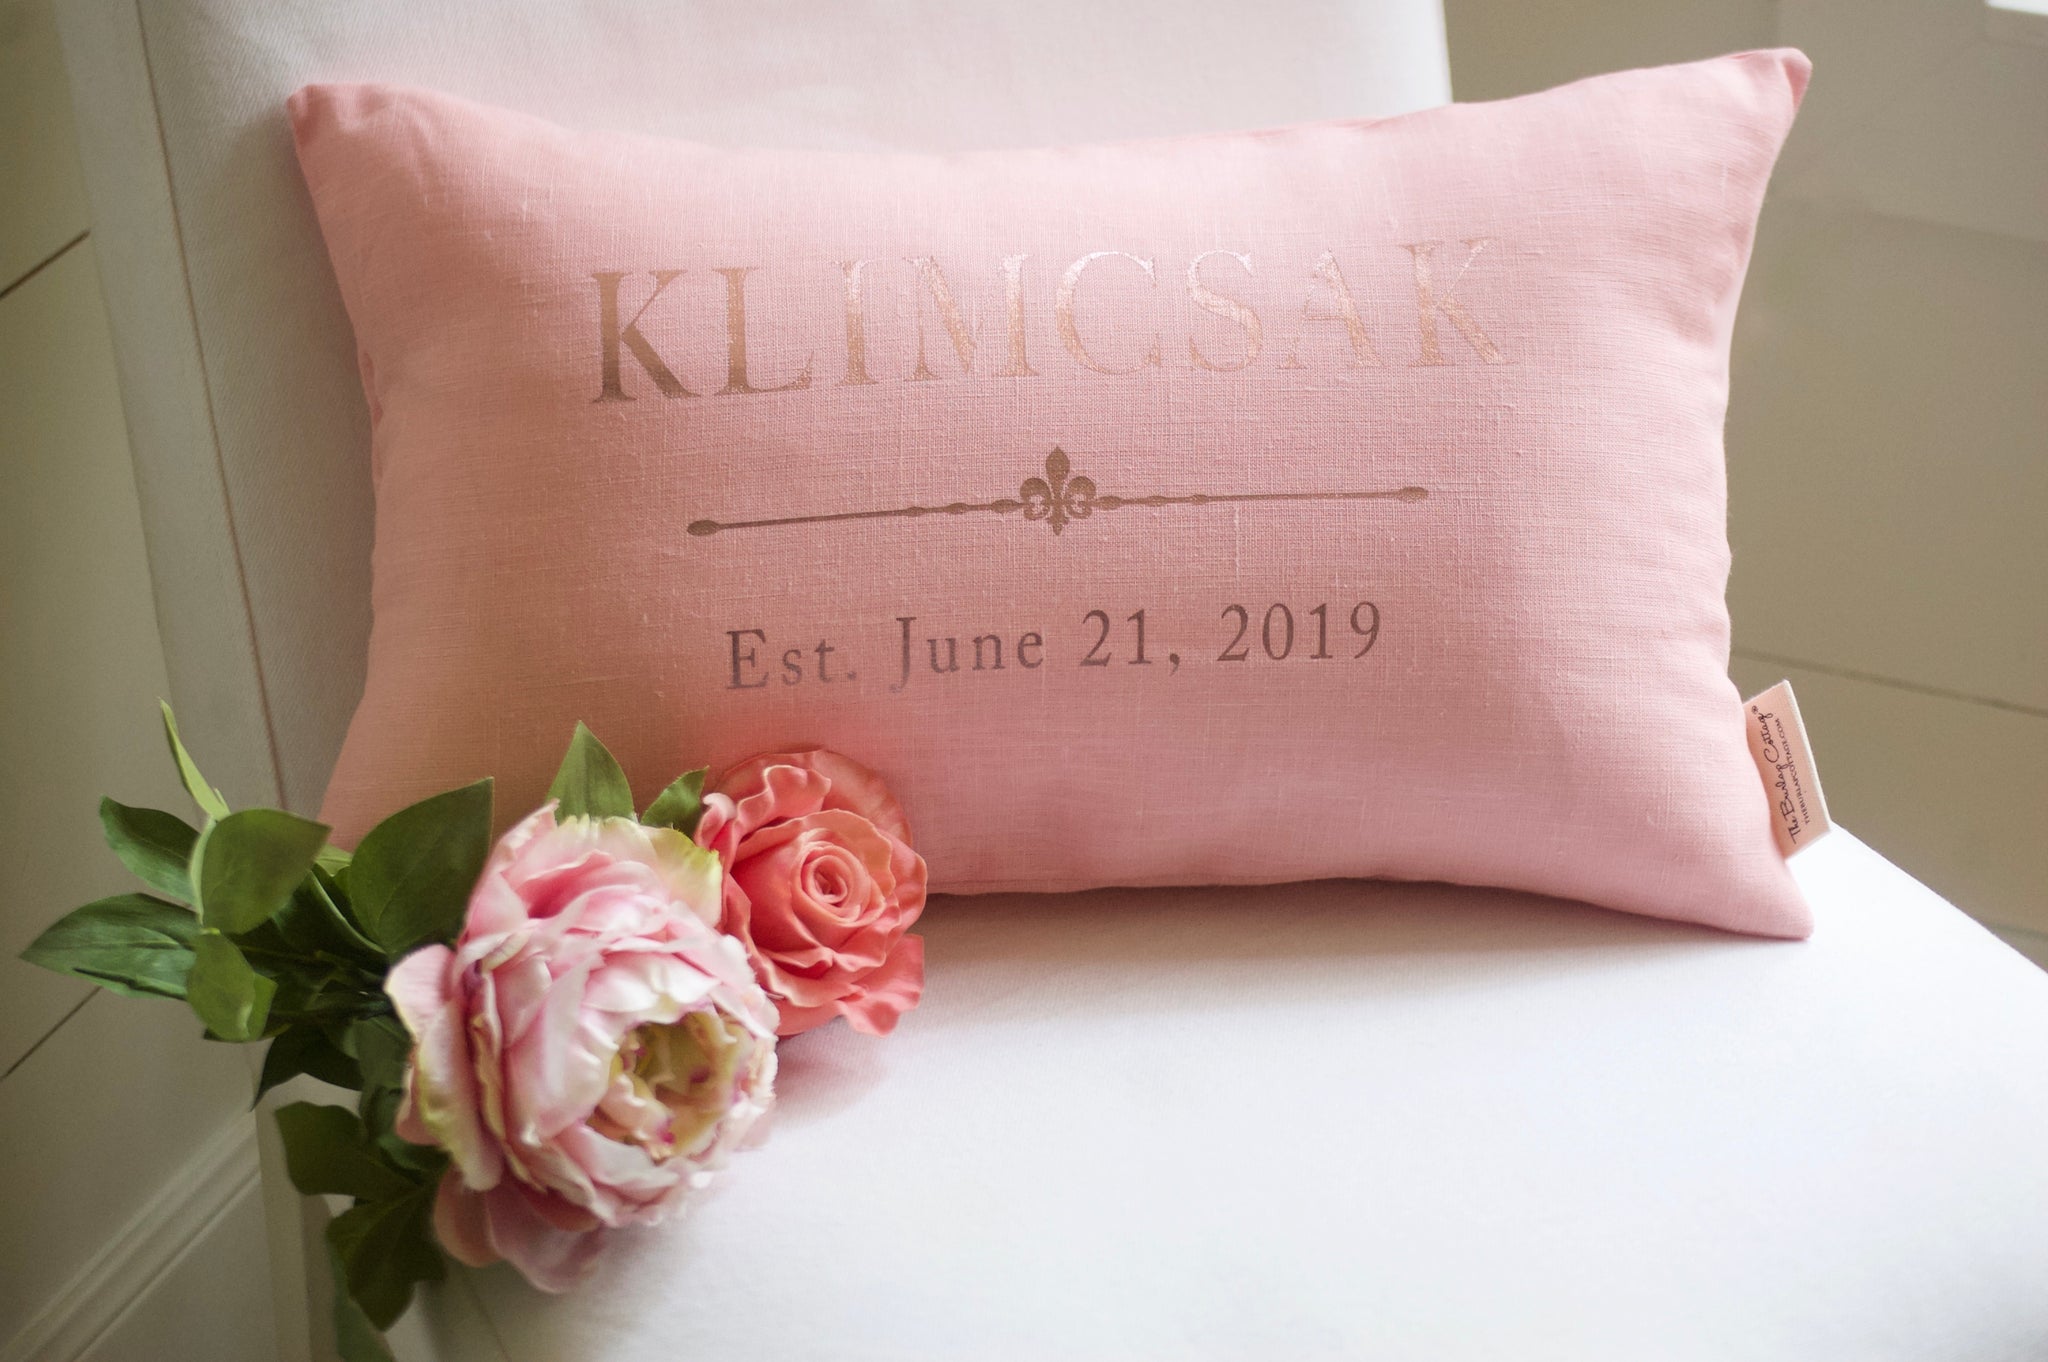
Give them a keepsake destined to be a family heirloom
handmade keepsakes to last a lifetime
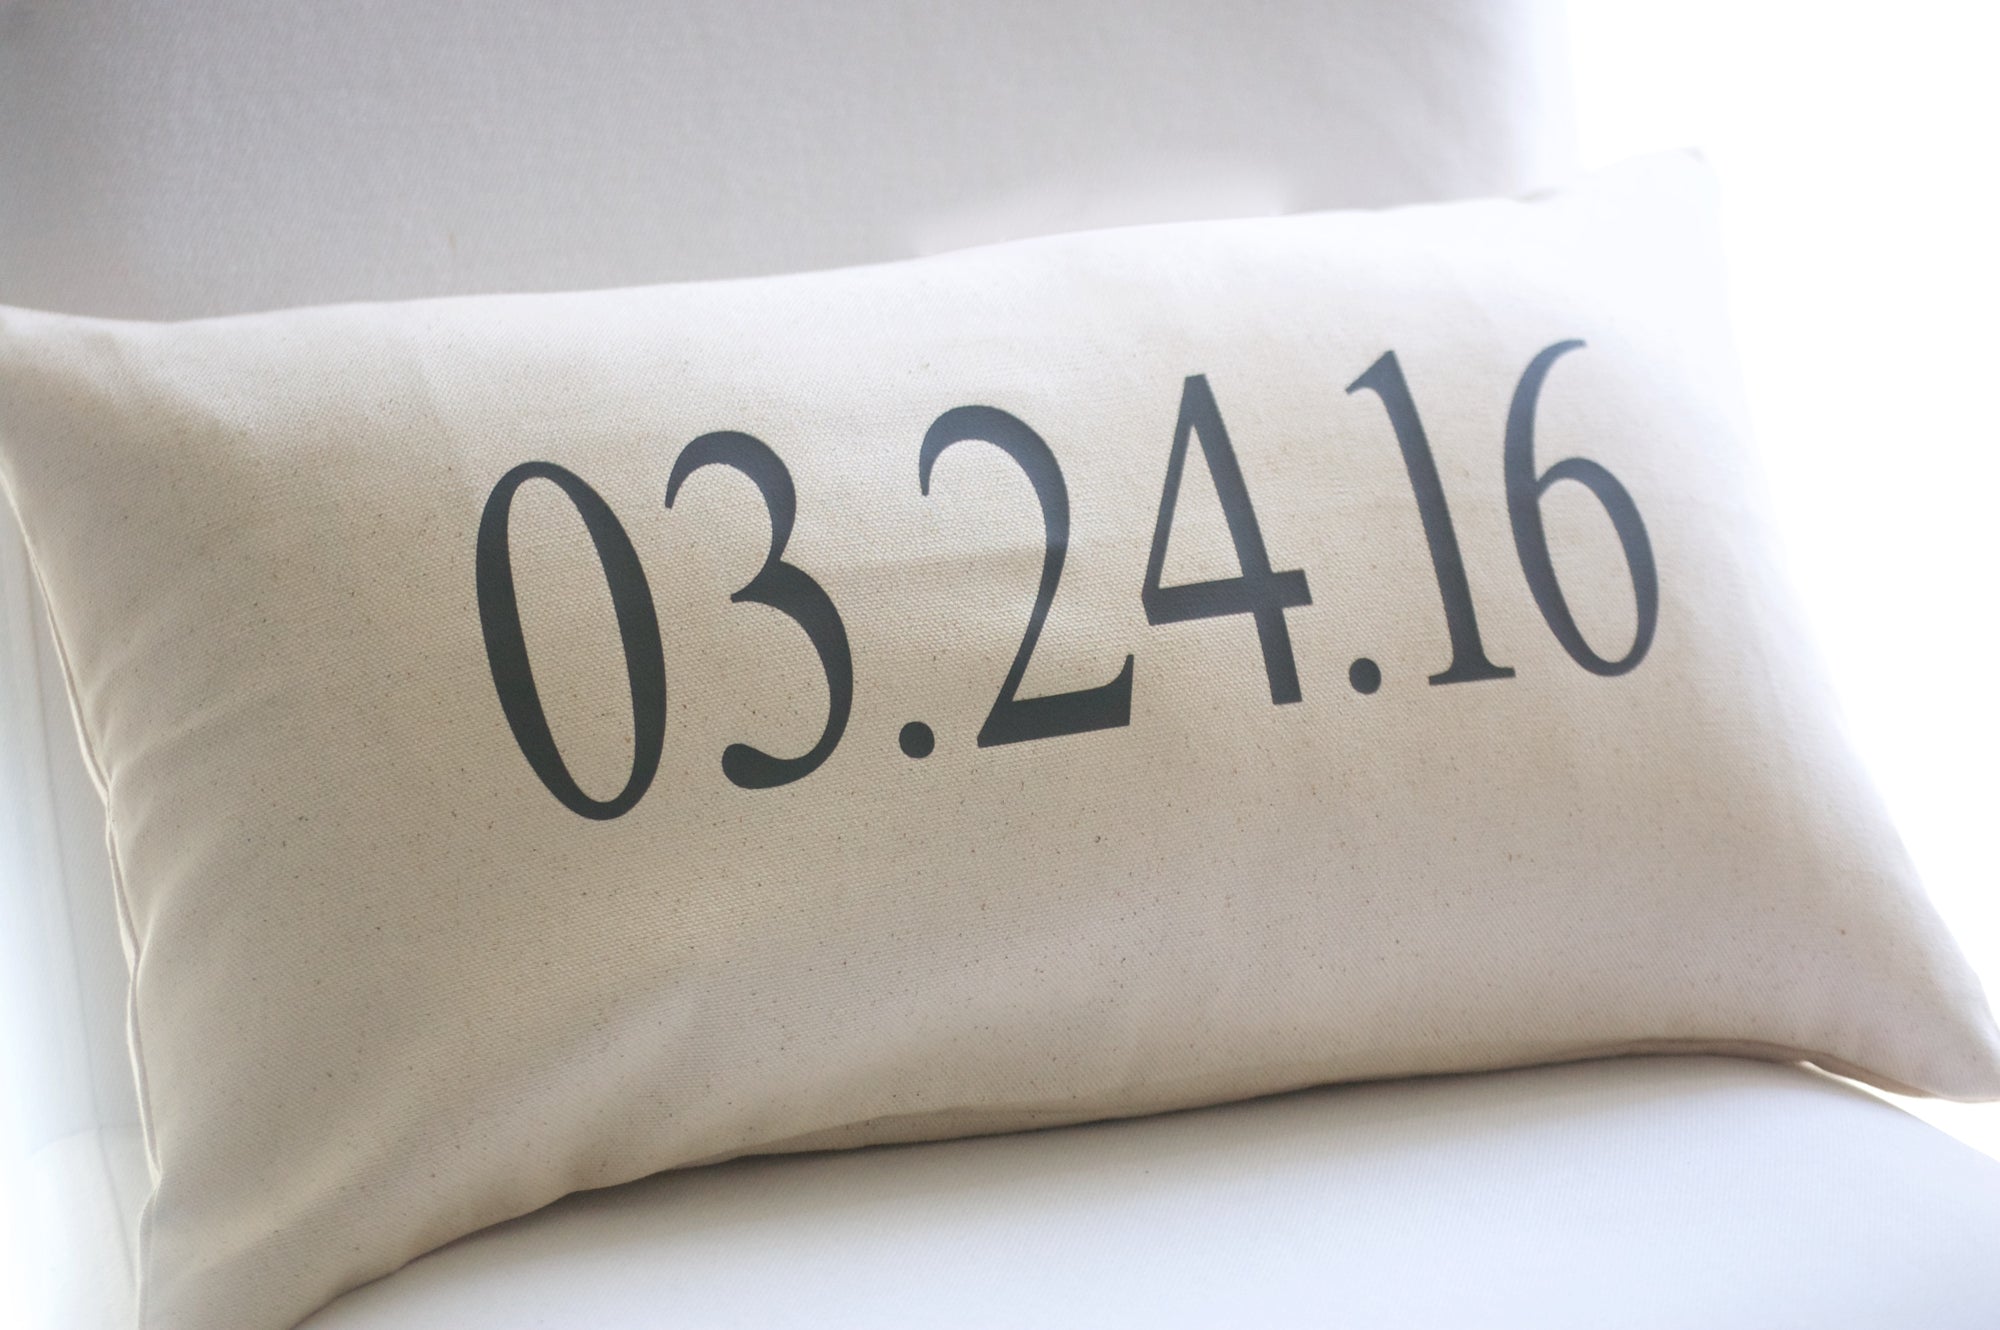
Celebrate Life's Special Moments with a Treasured Keepsake
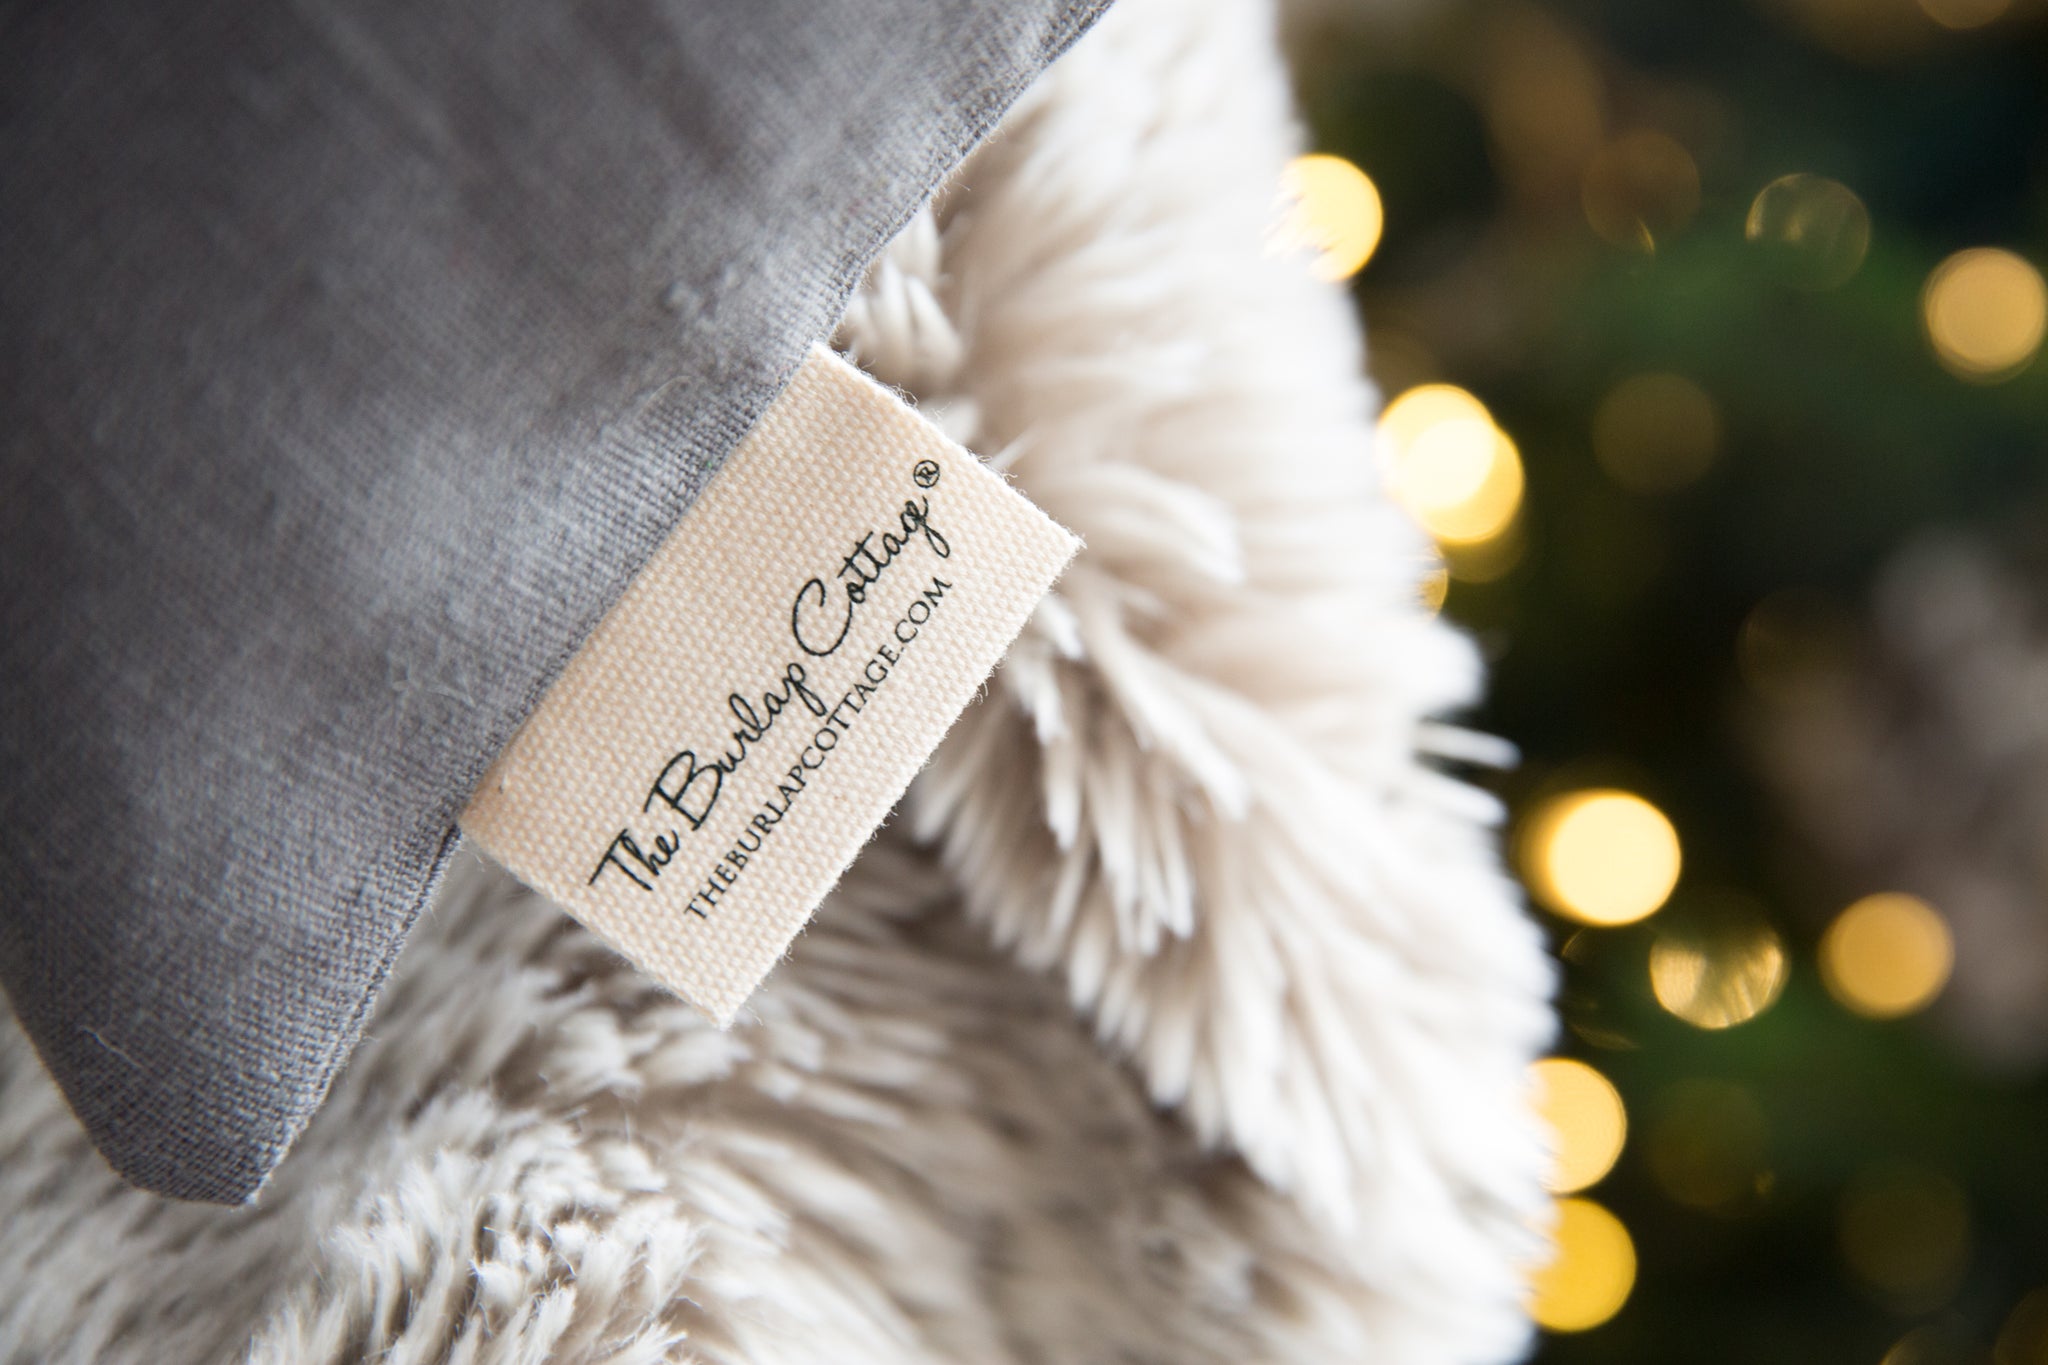
The burlap cottage® difference
I Strive for my Products to be More Than The Highest Quality Home Decor. My Goal is to Create Beauty and Artistry that Will Become an Important Part of Your Special Day and Family Traditions for Years to Come.
— Leanne, Owner of The Burlap Cottage®

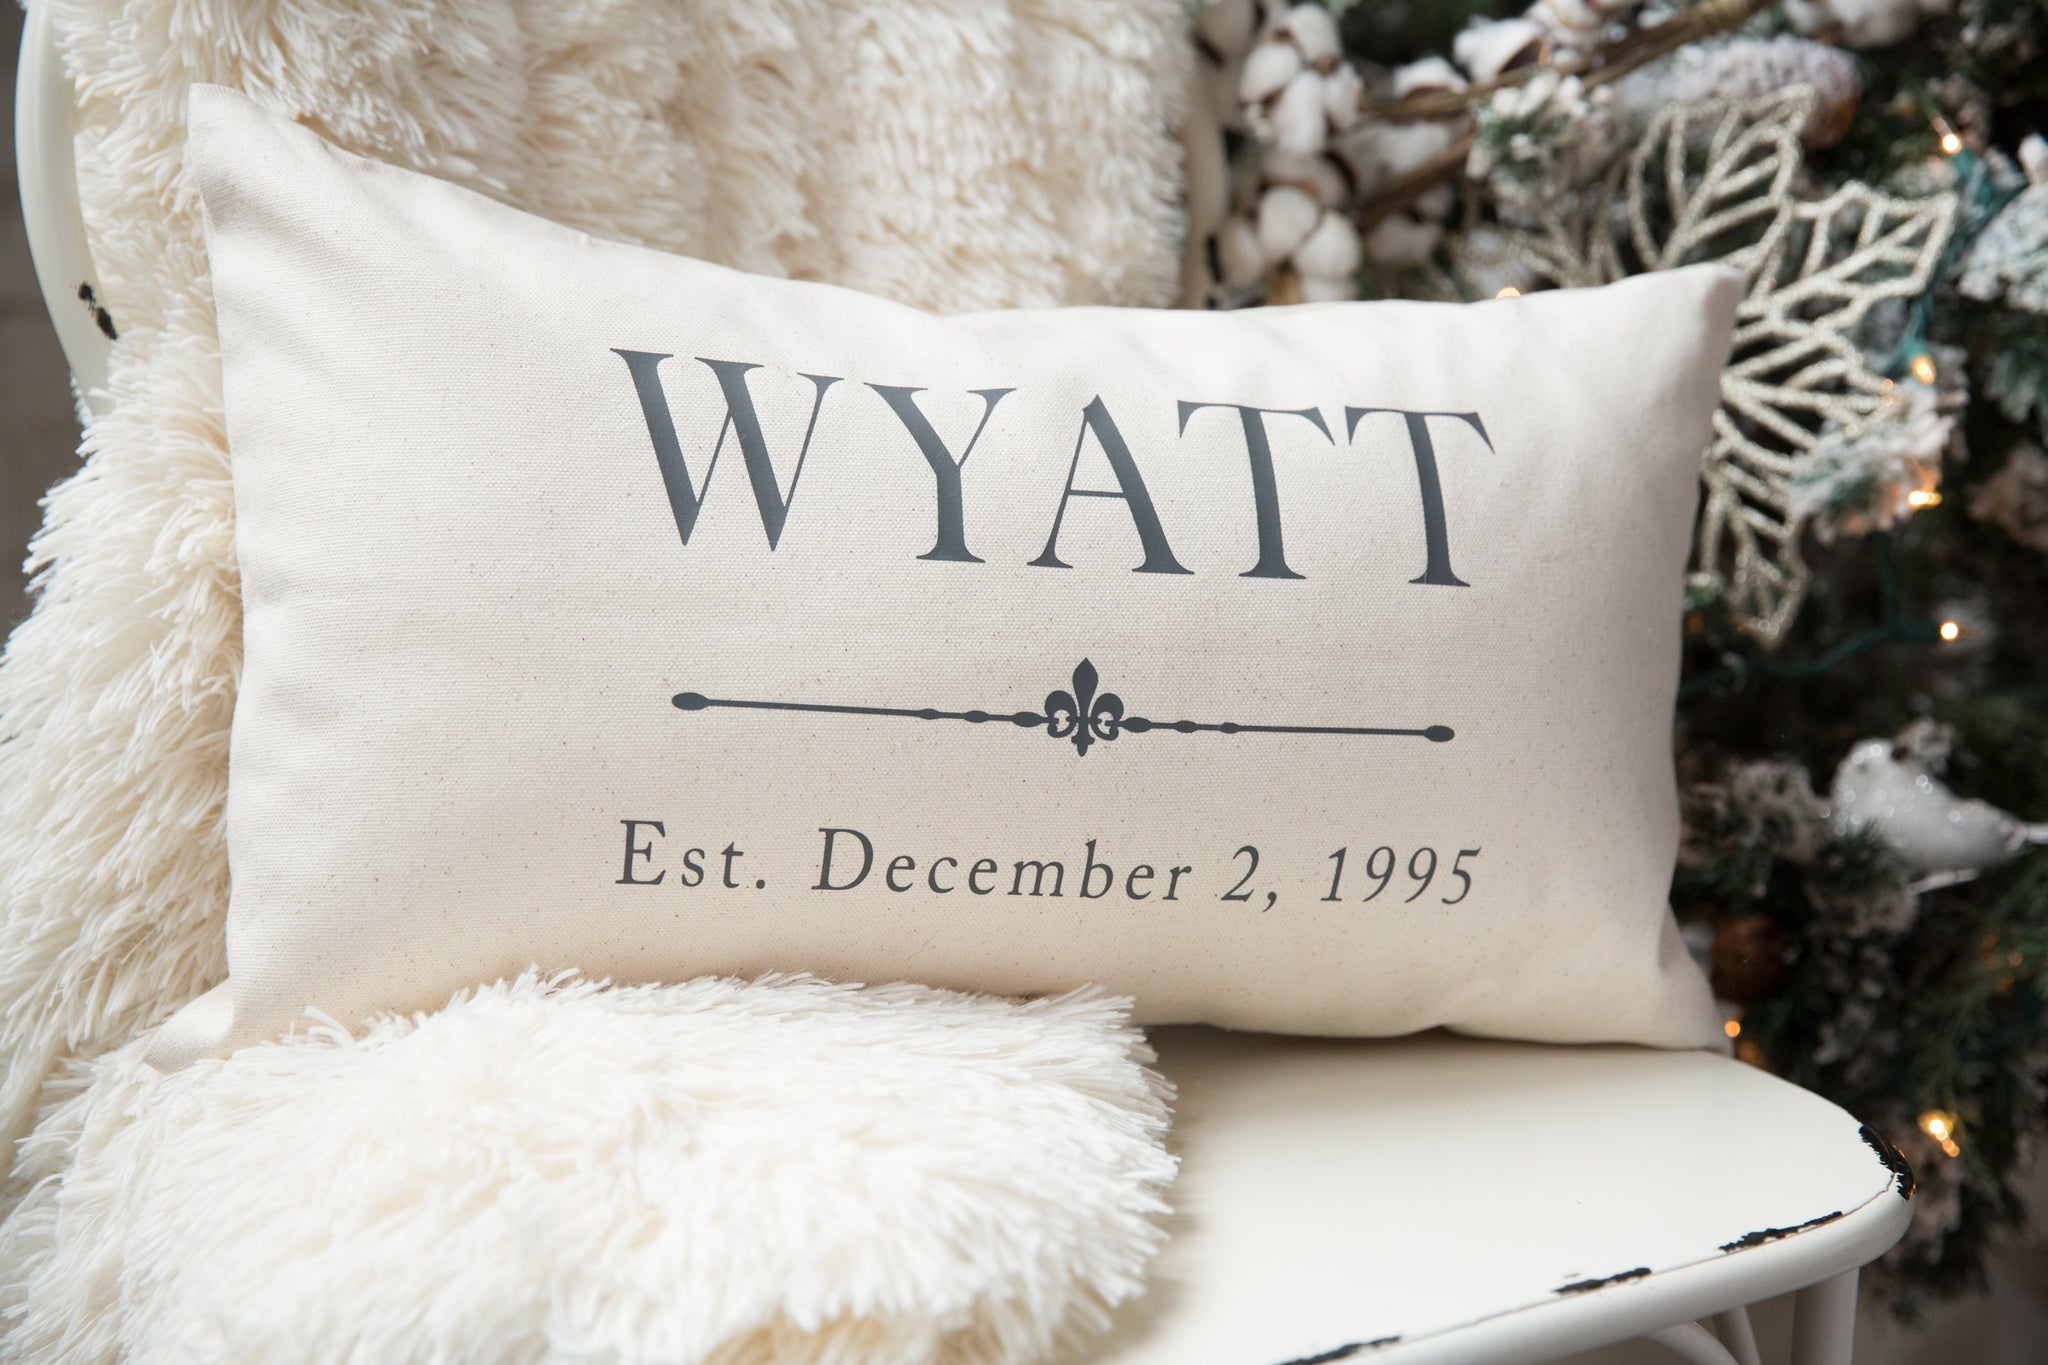
Wedding Anniversary Pillows
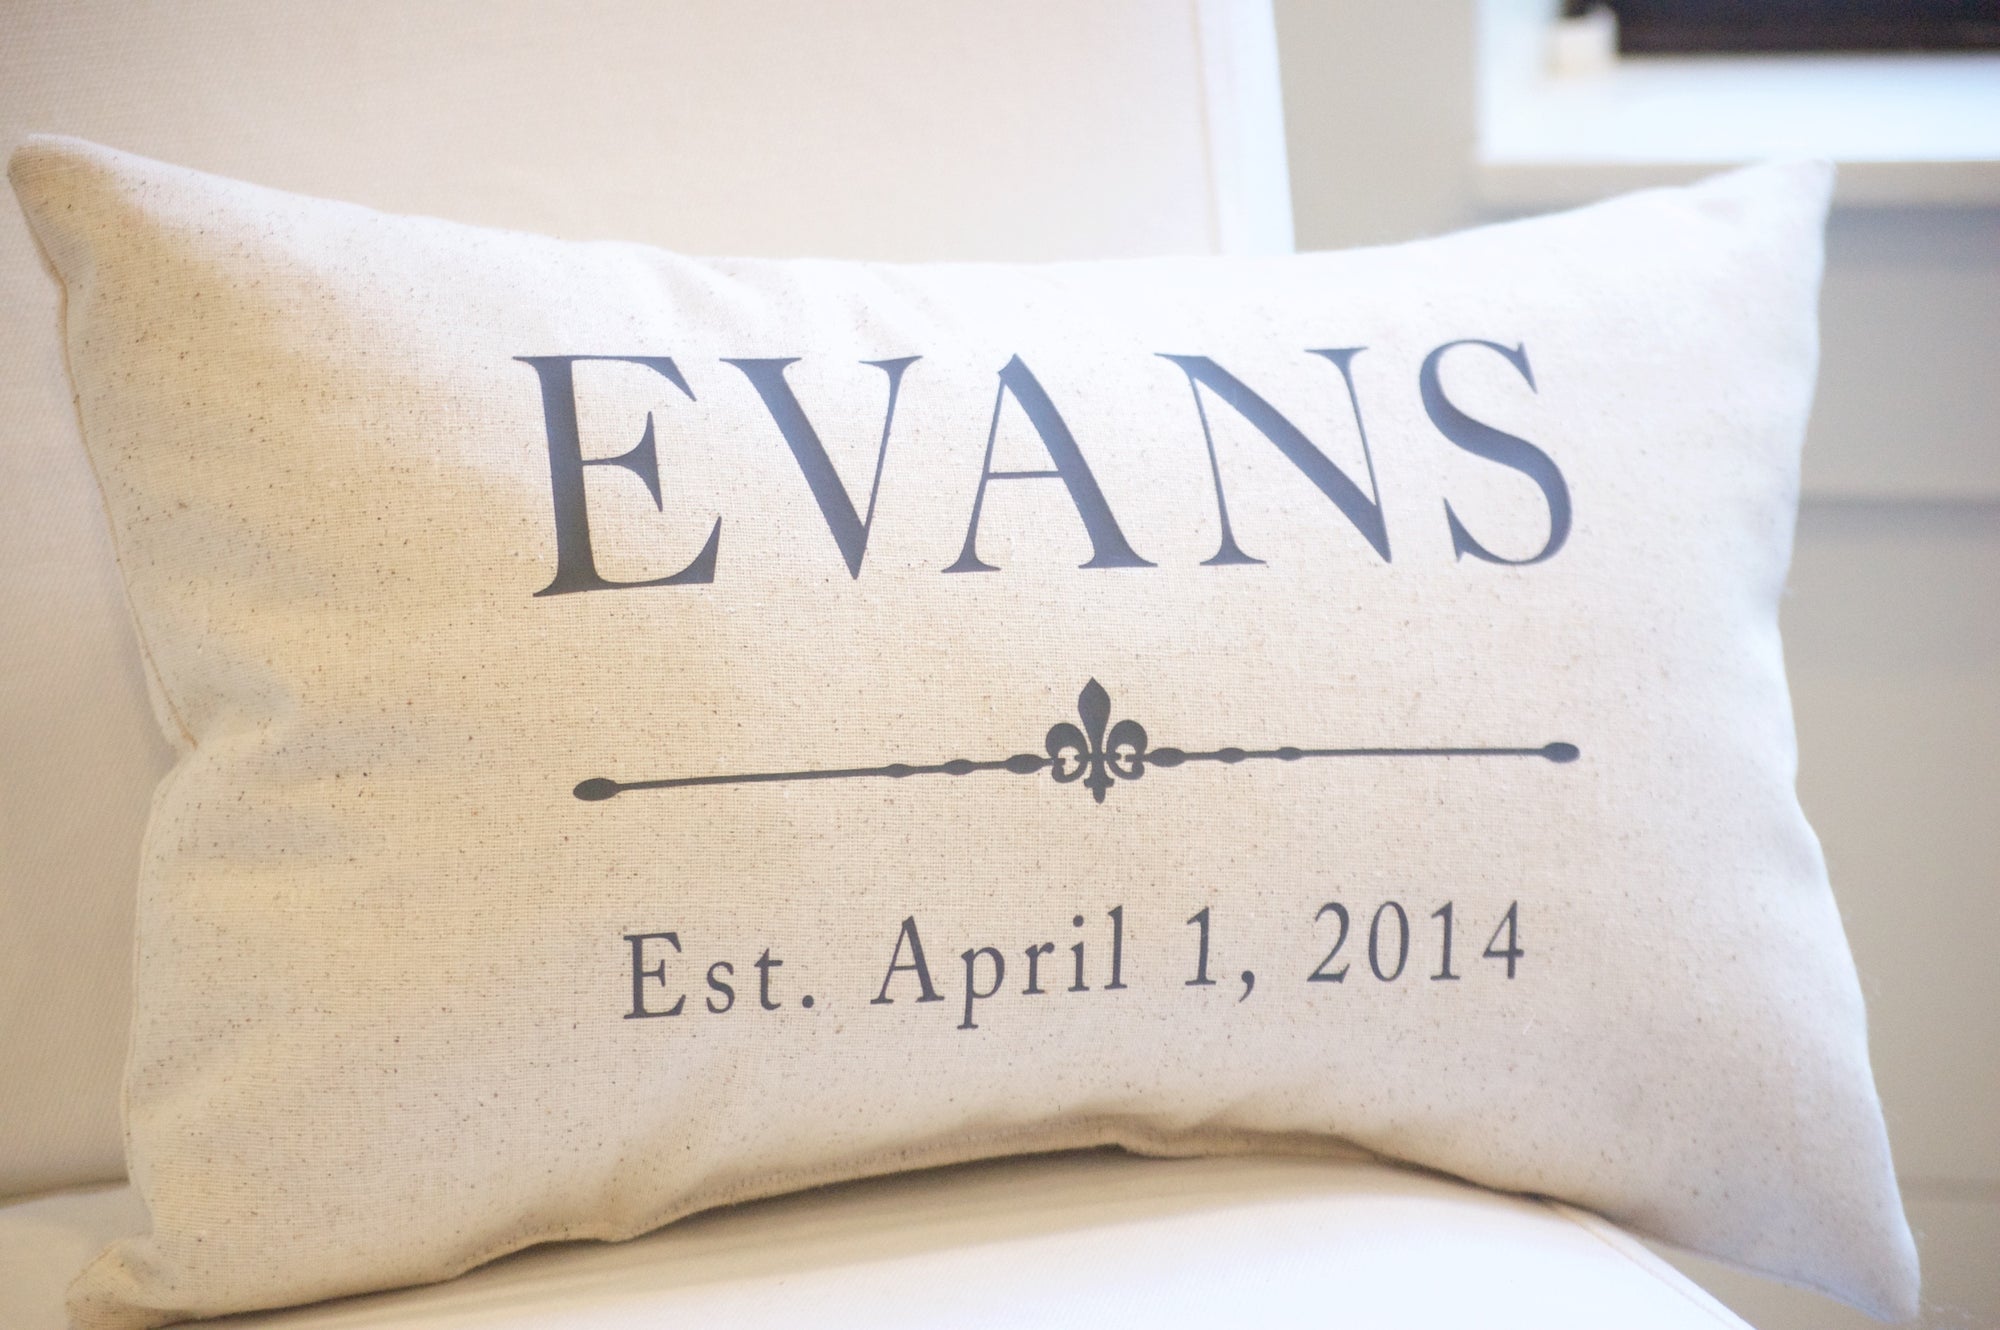
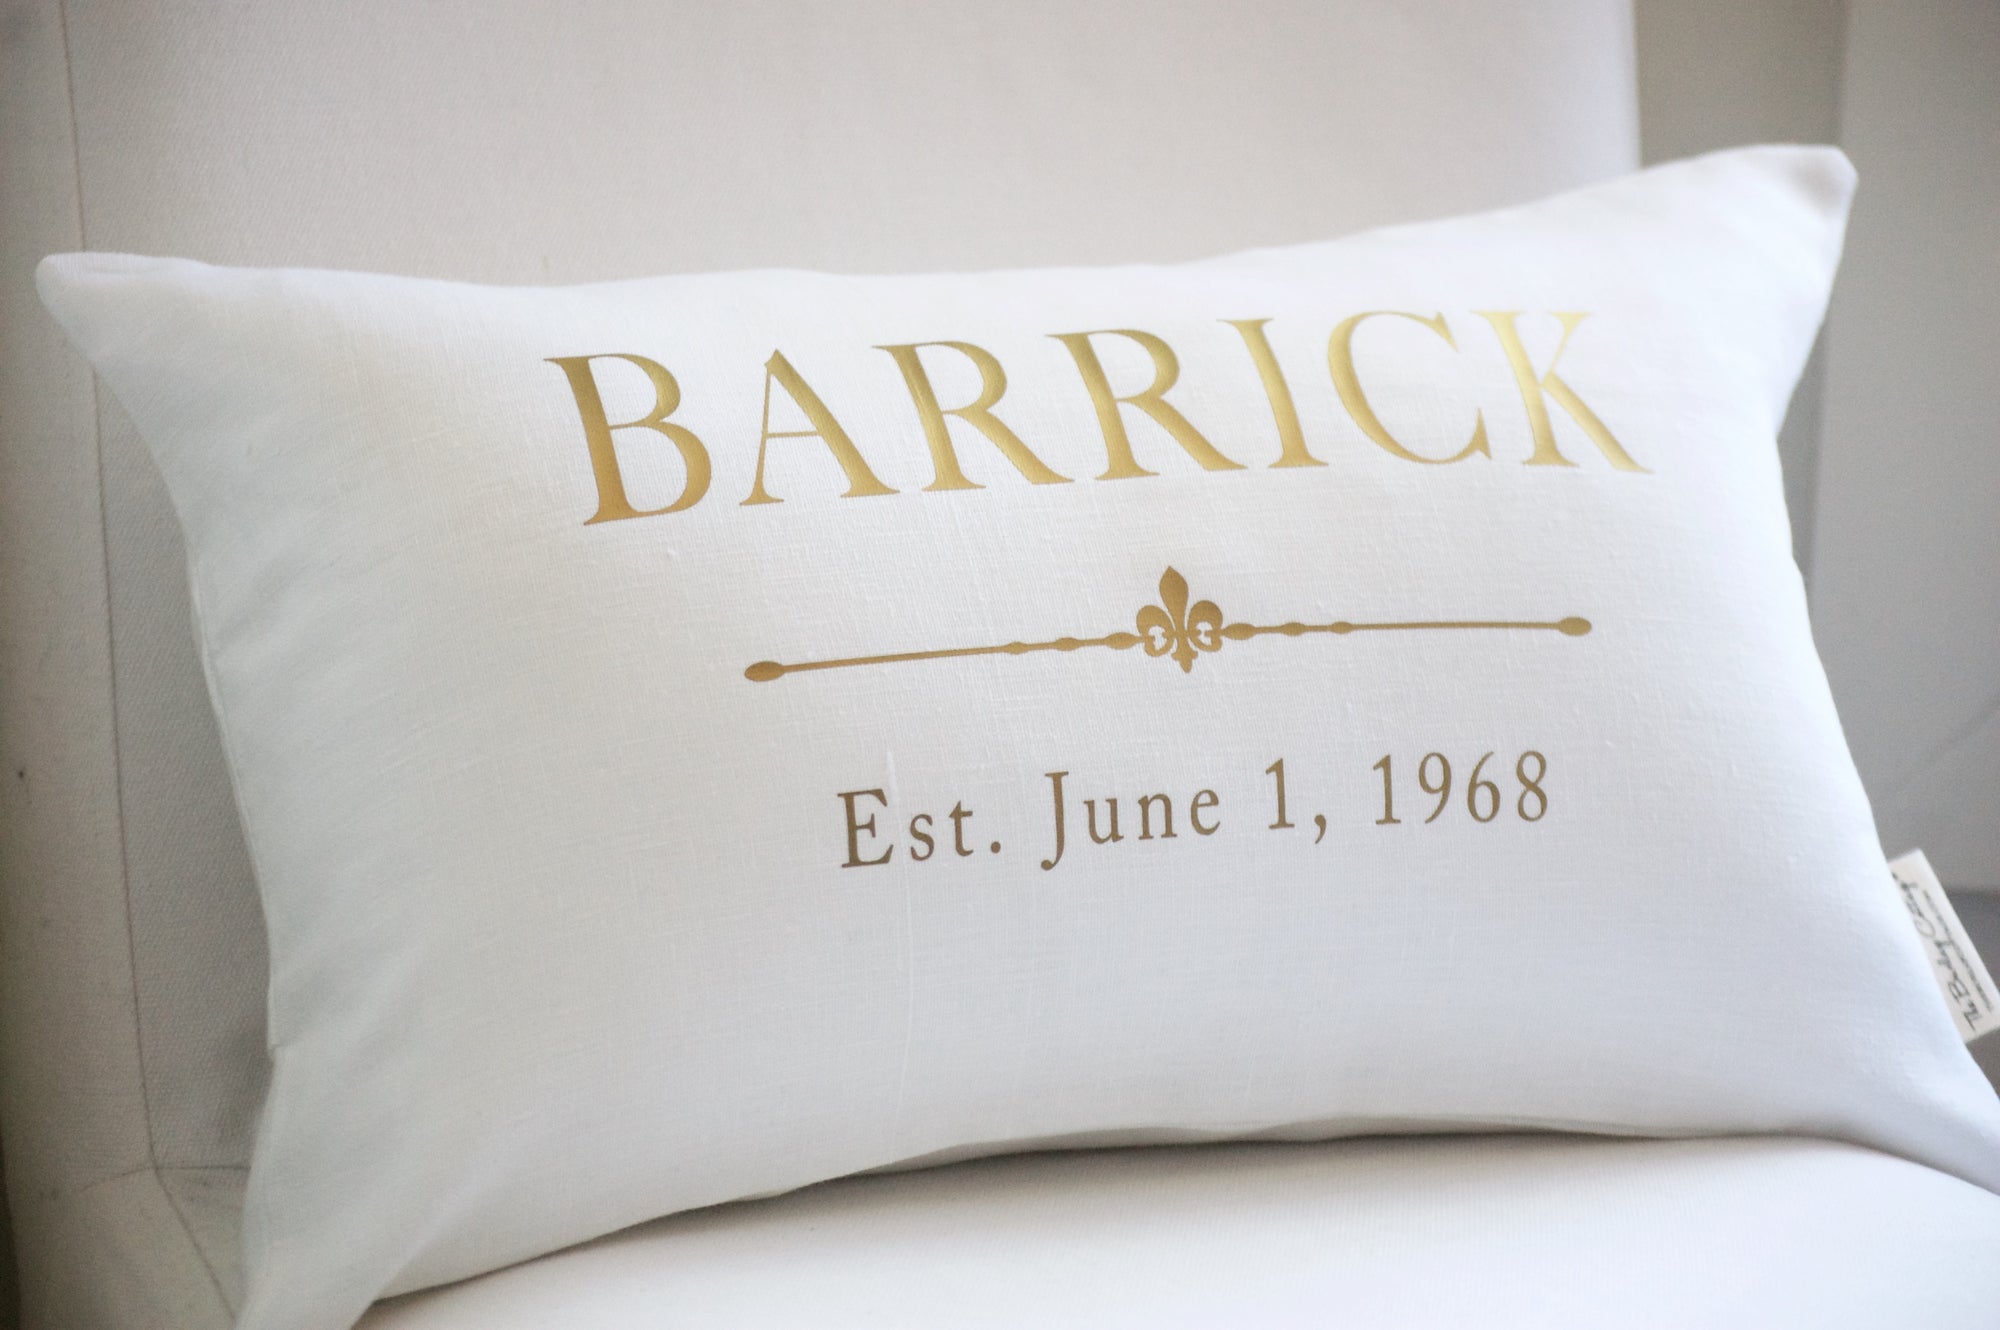
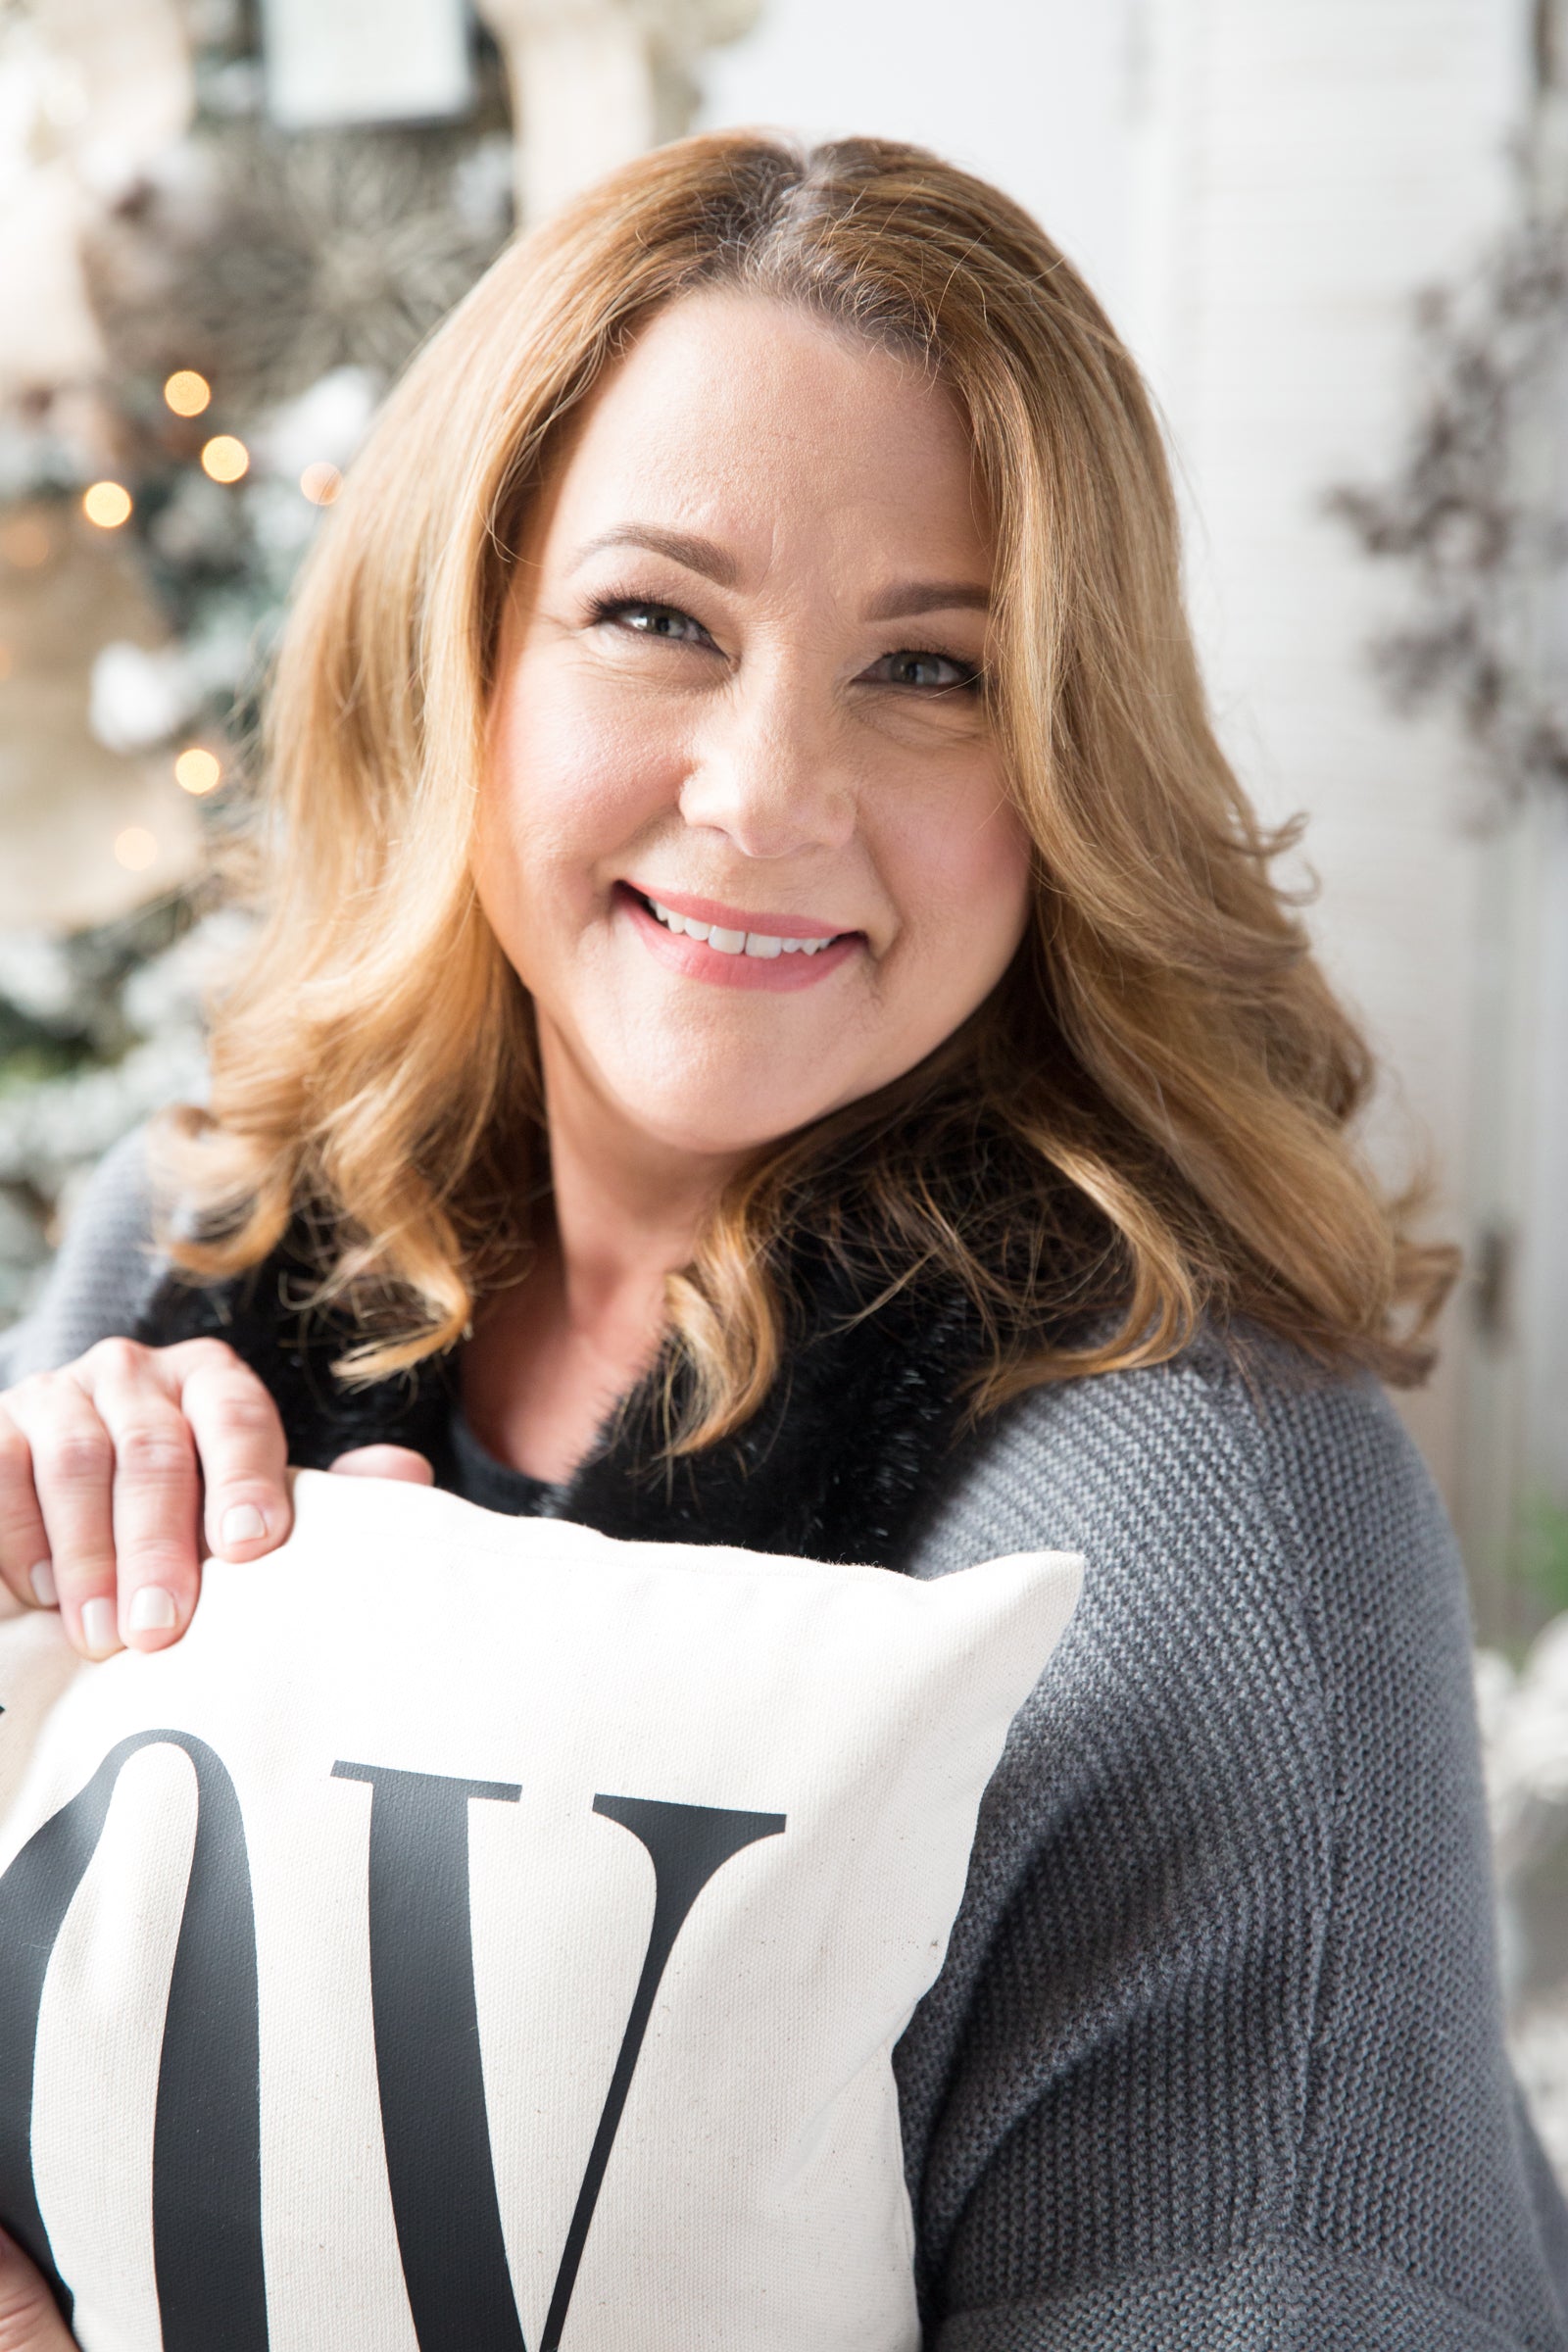
"i enjoy creating meaningful handmade items that will work with any decor" - Leanne
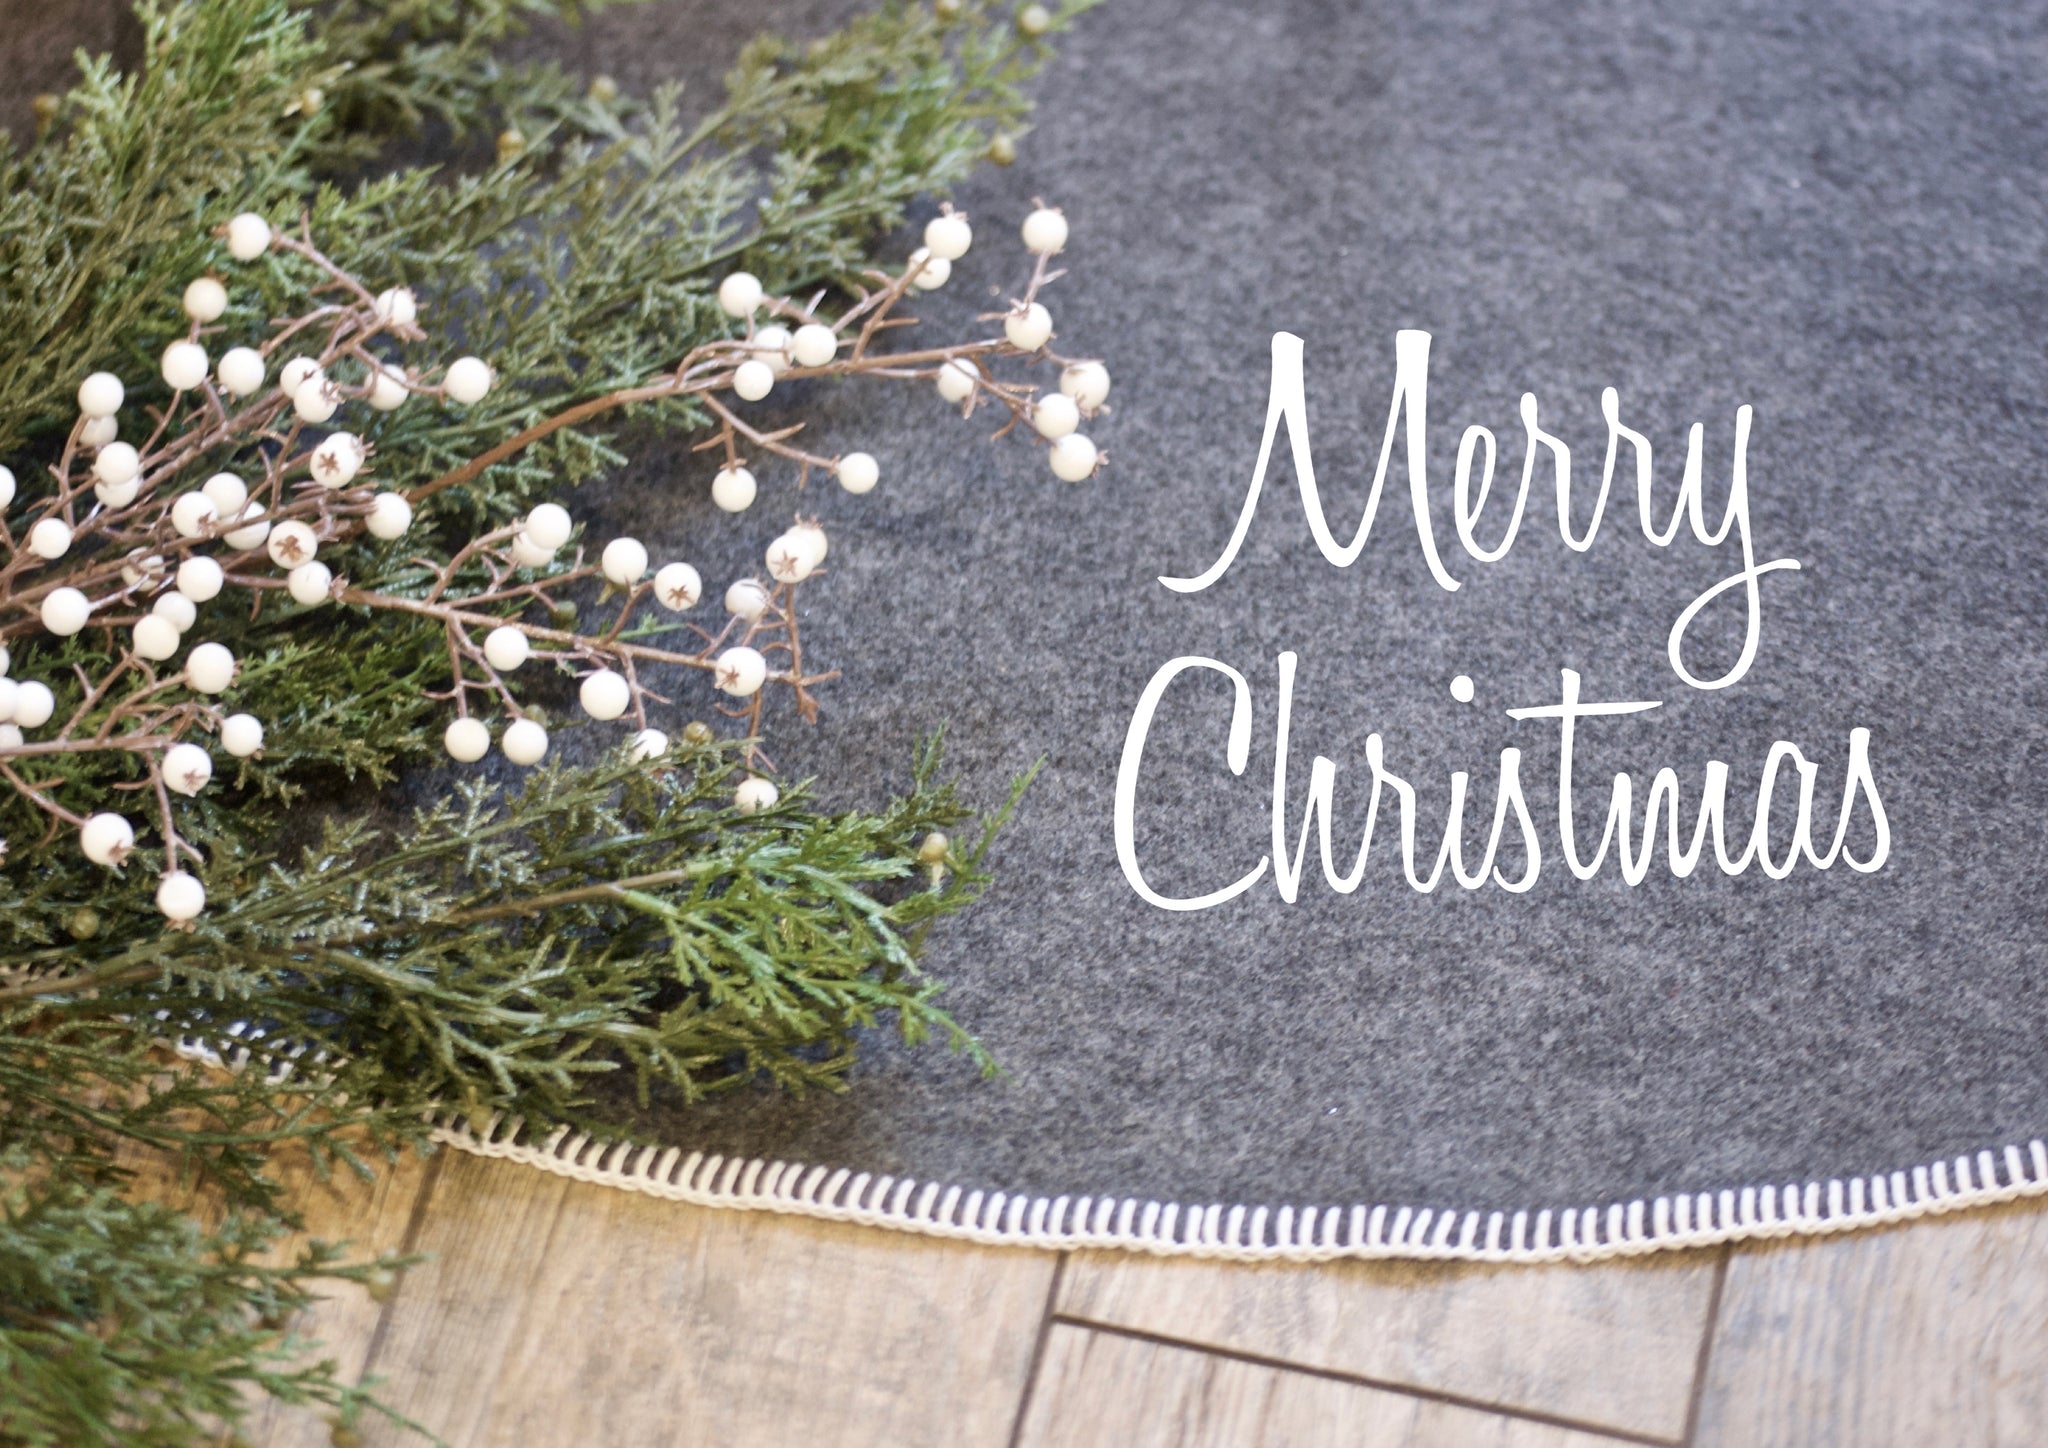
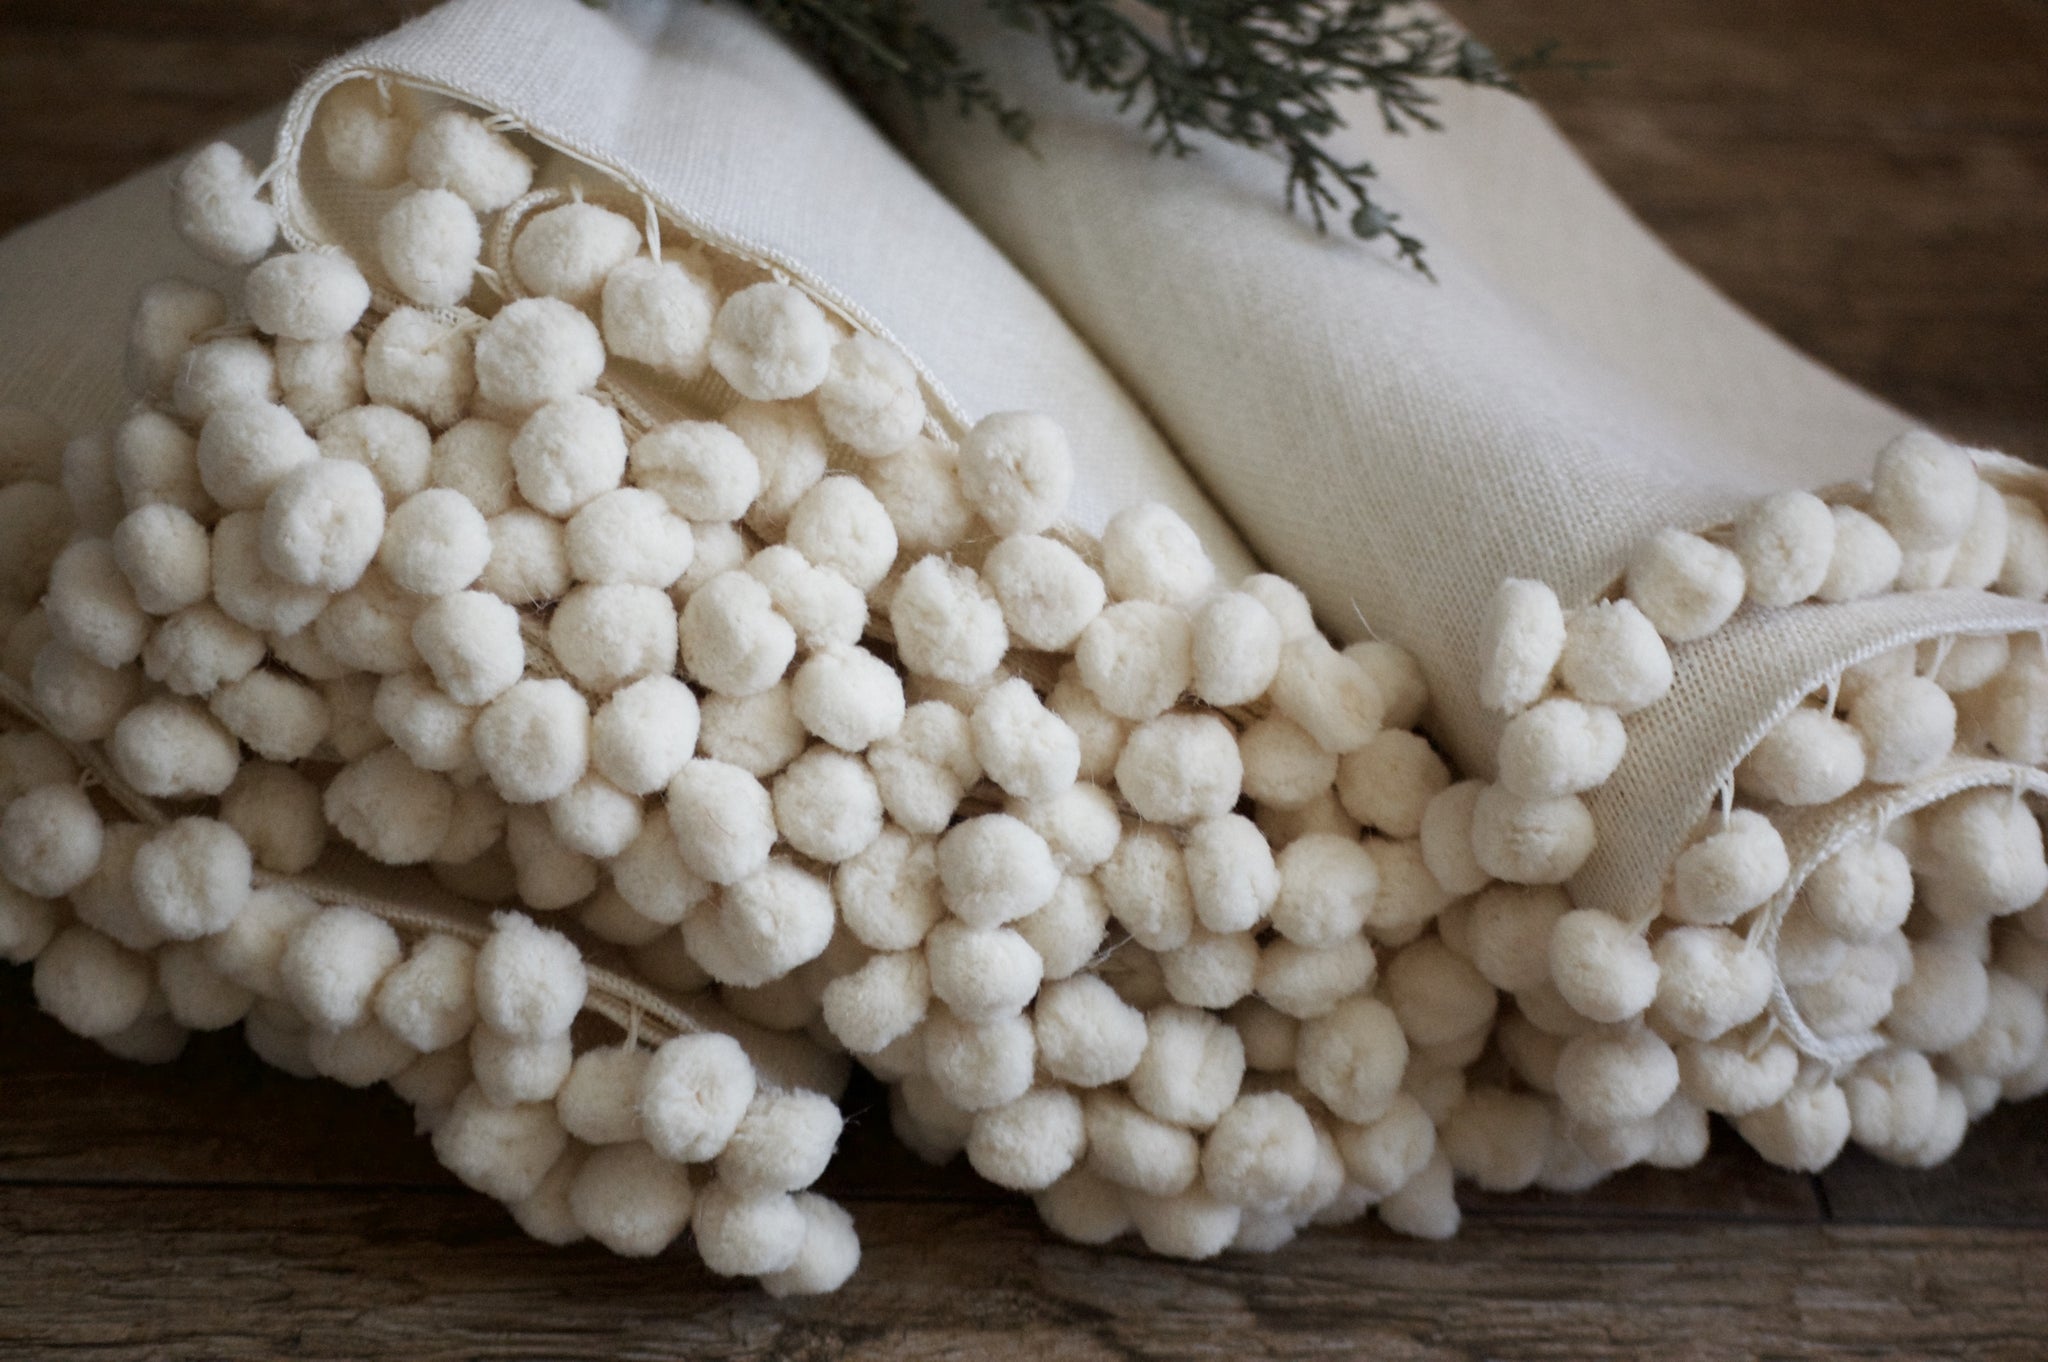
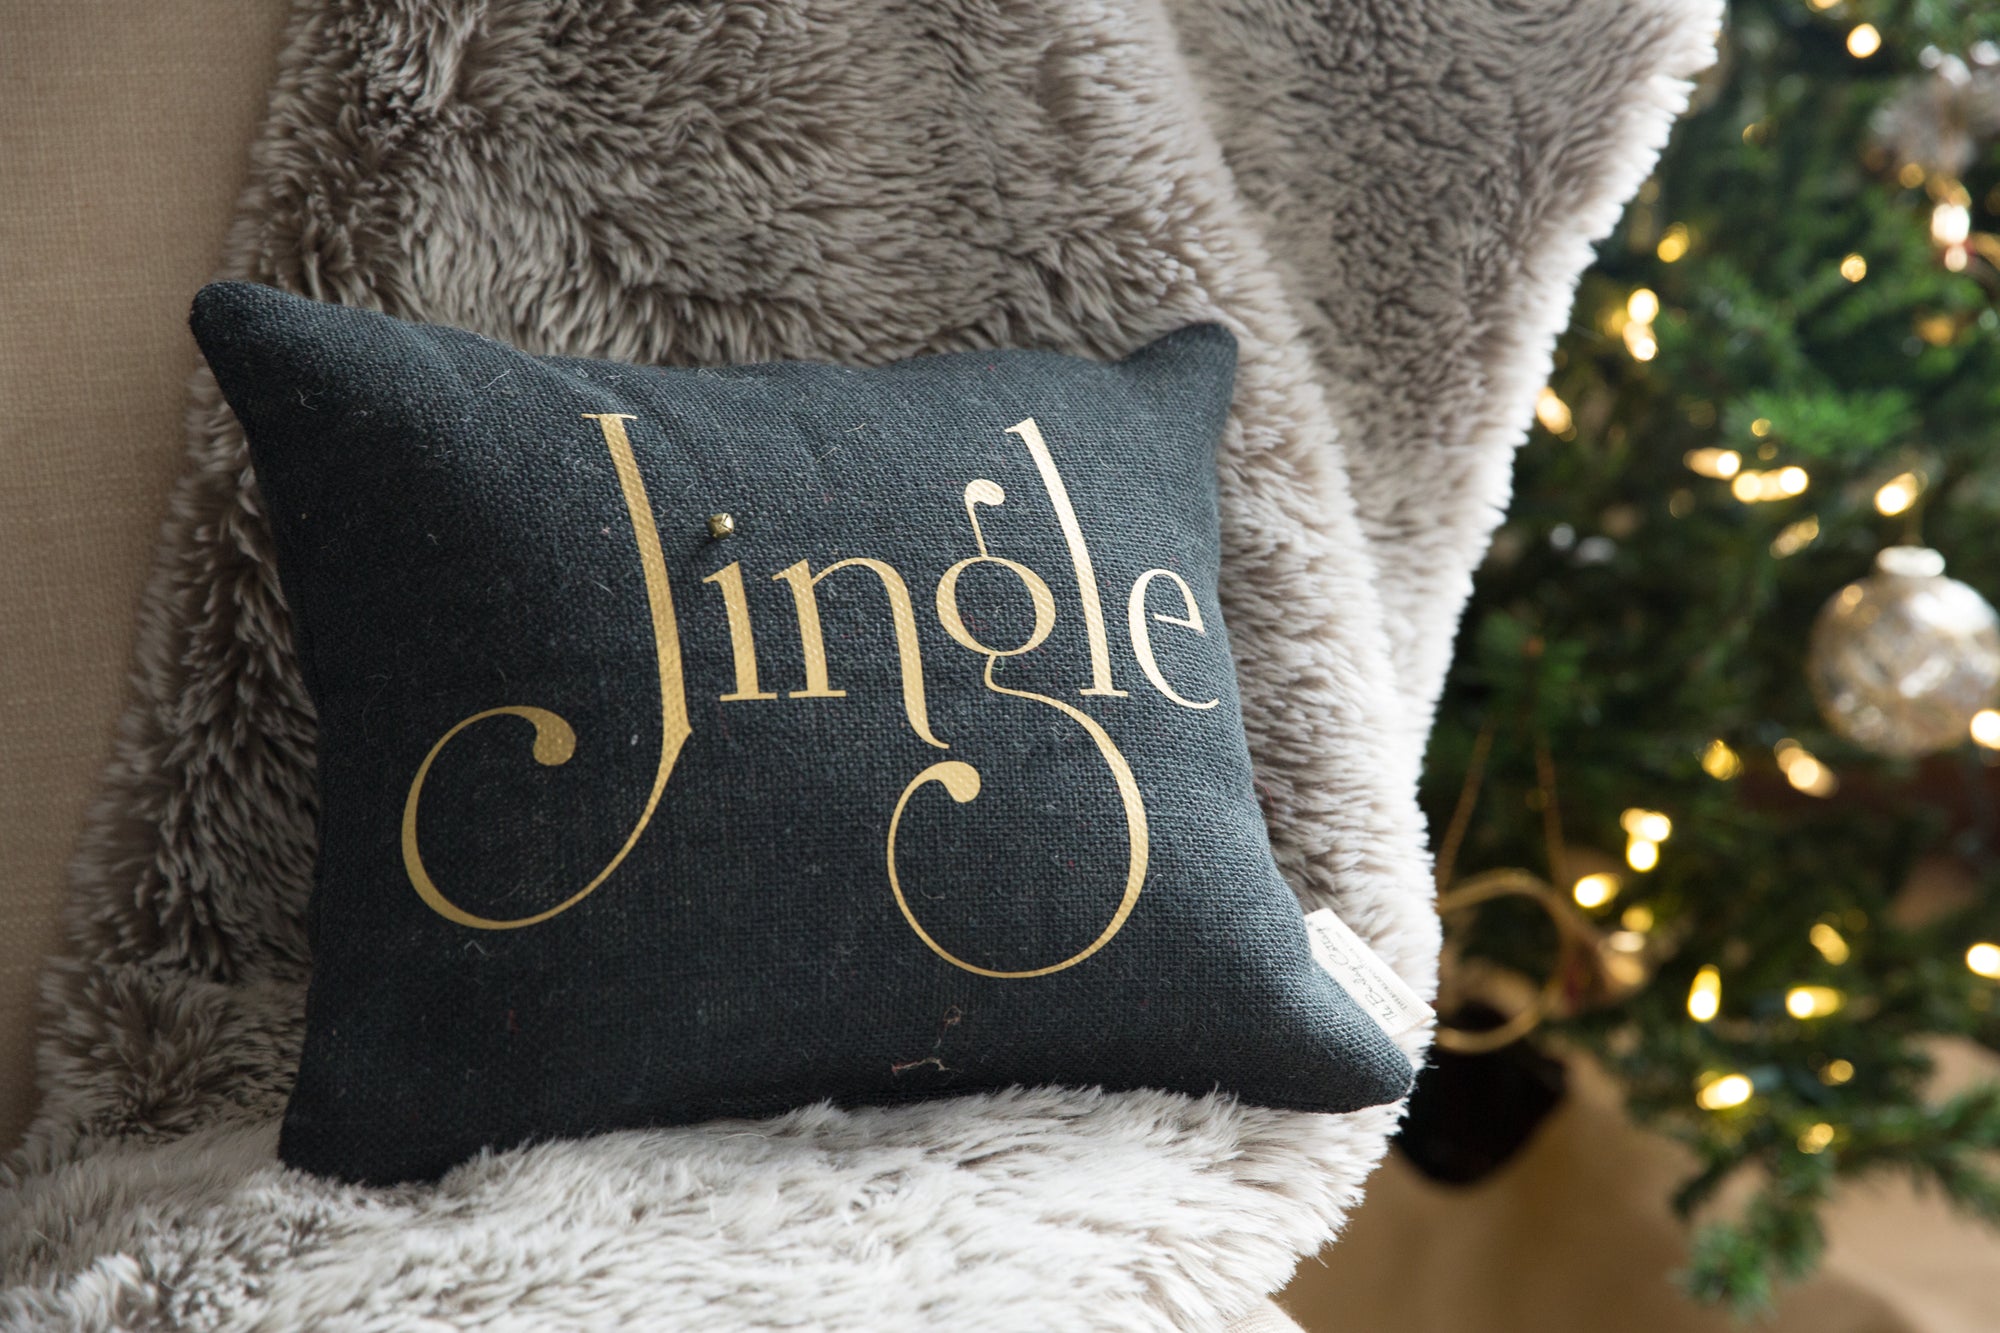
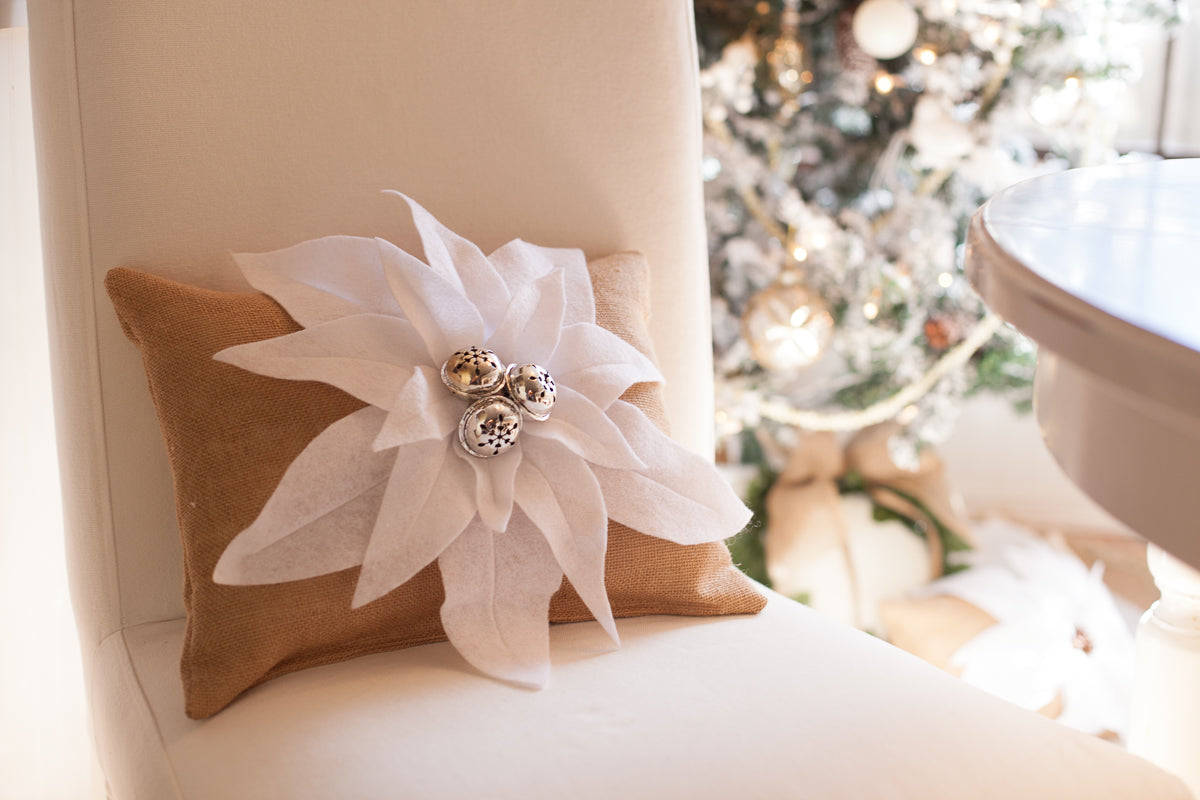
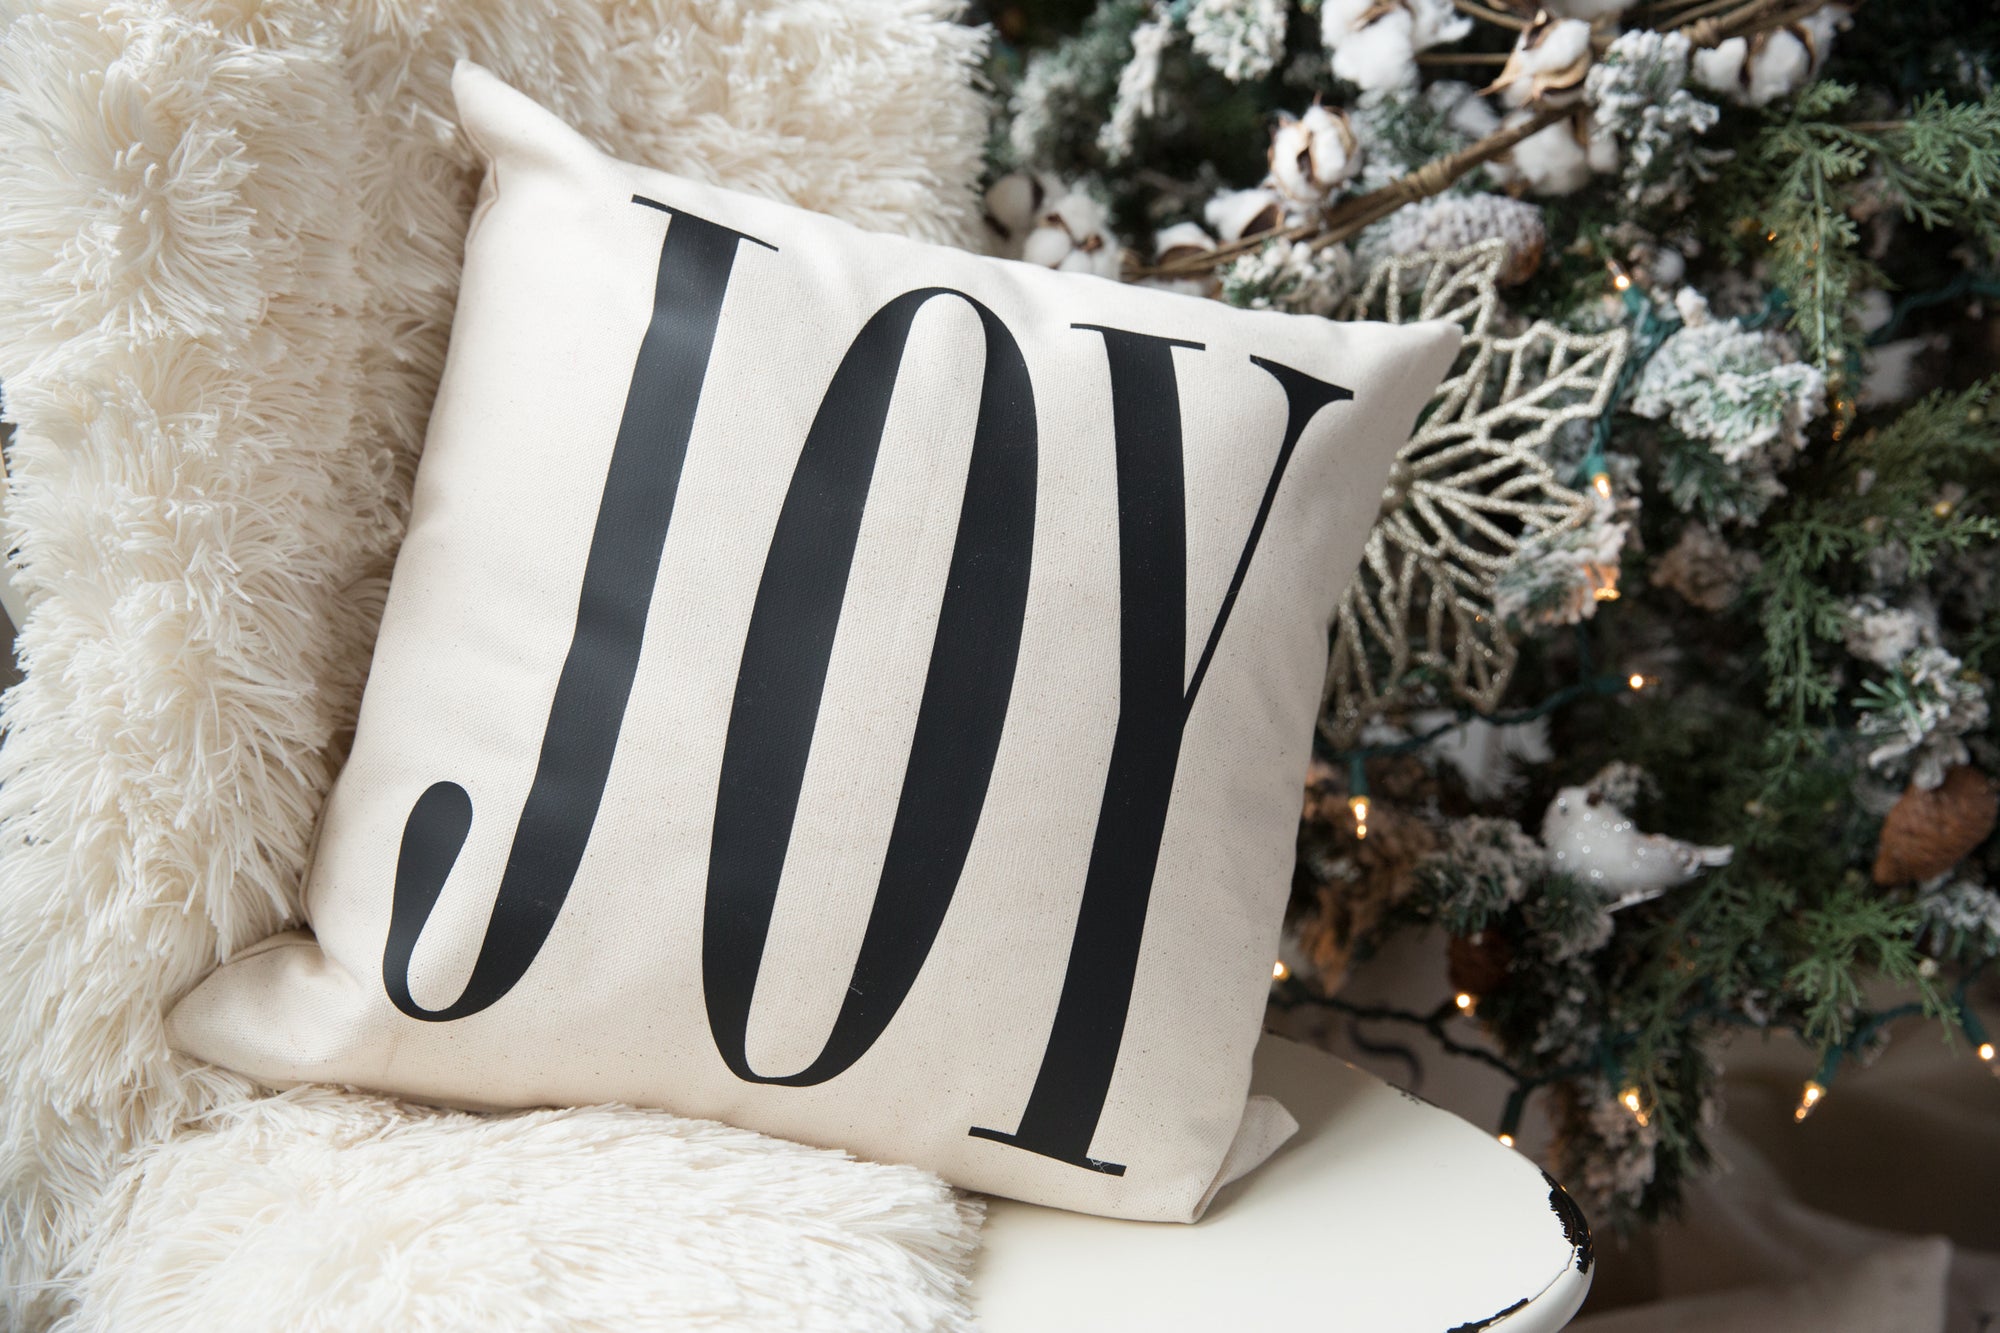
holiday pillows
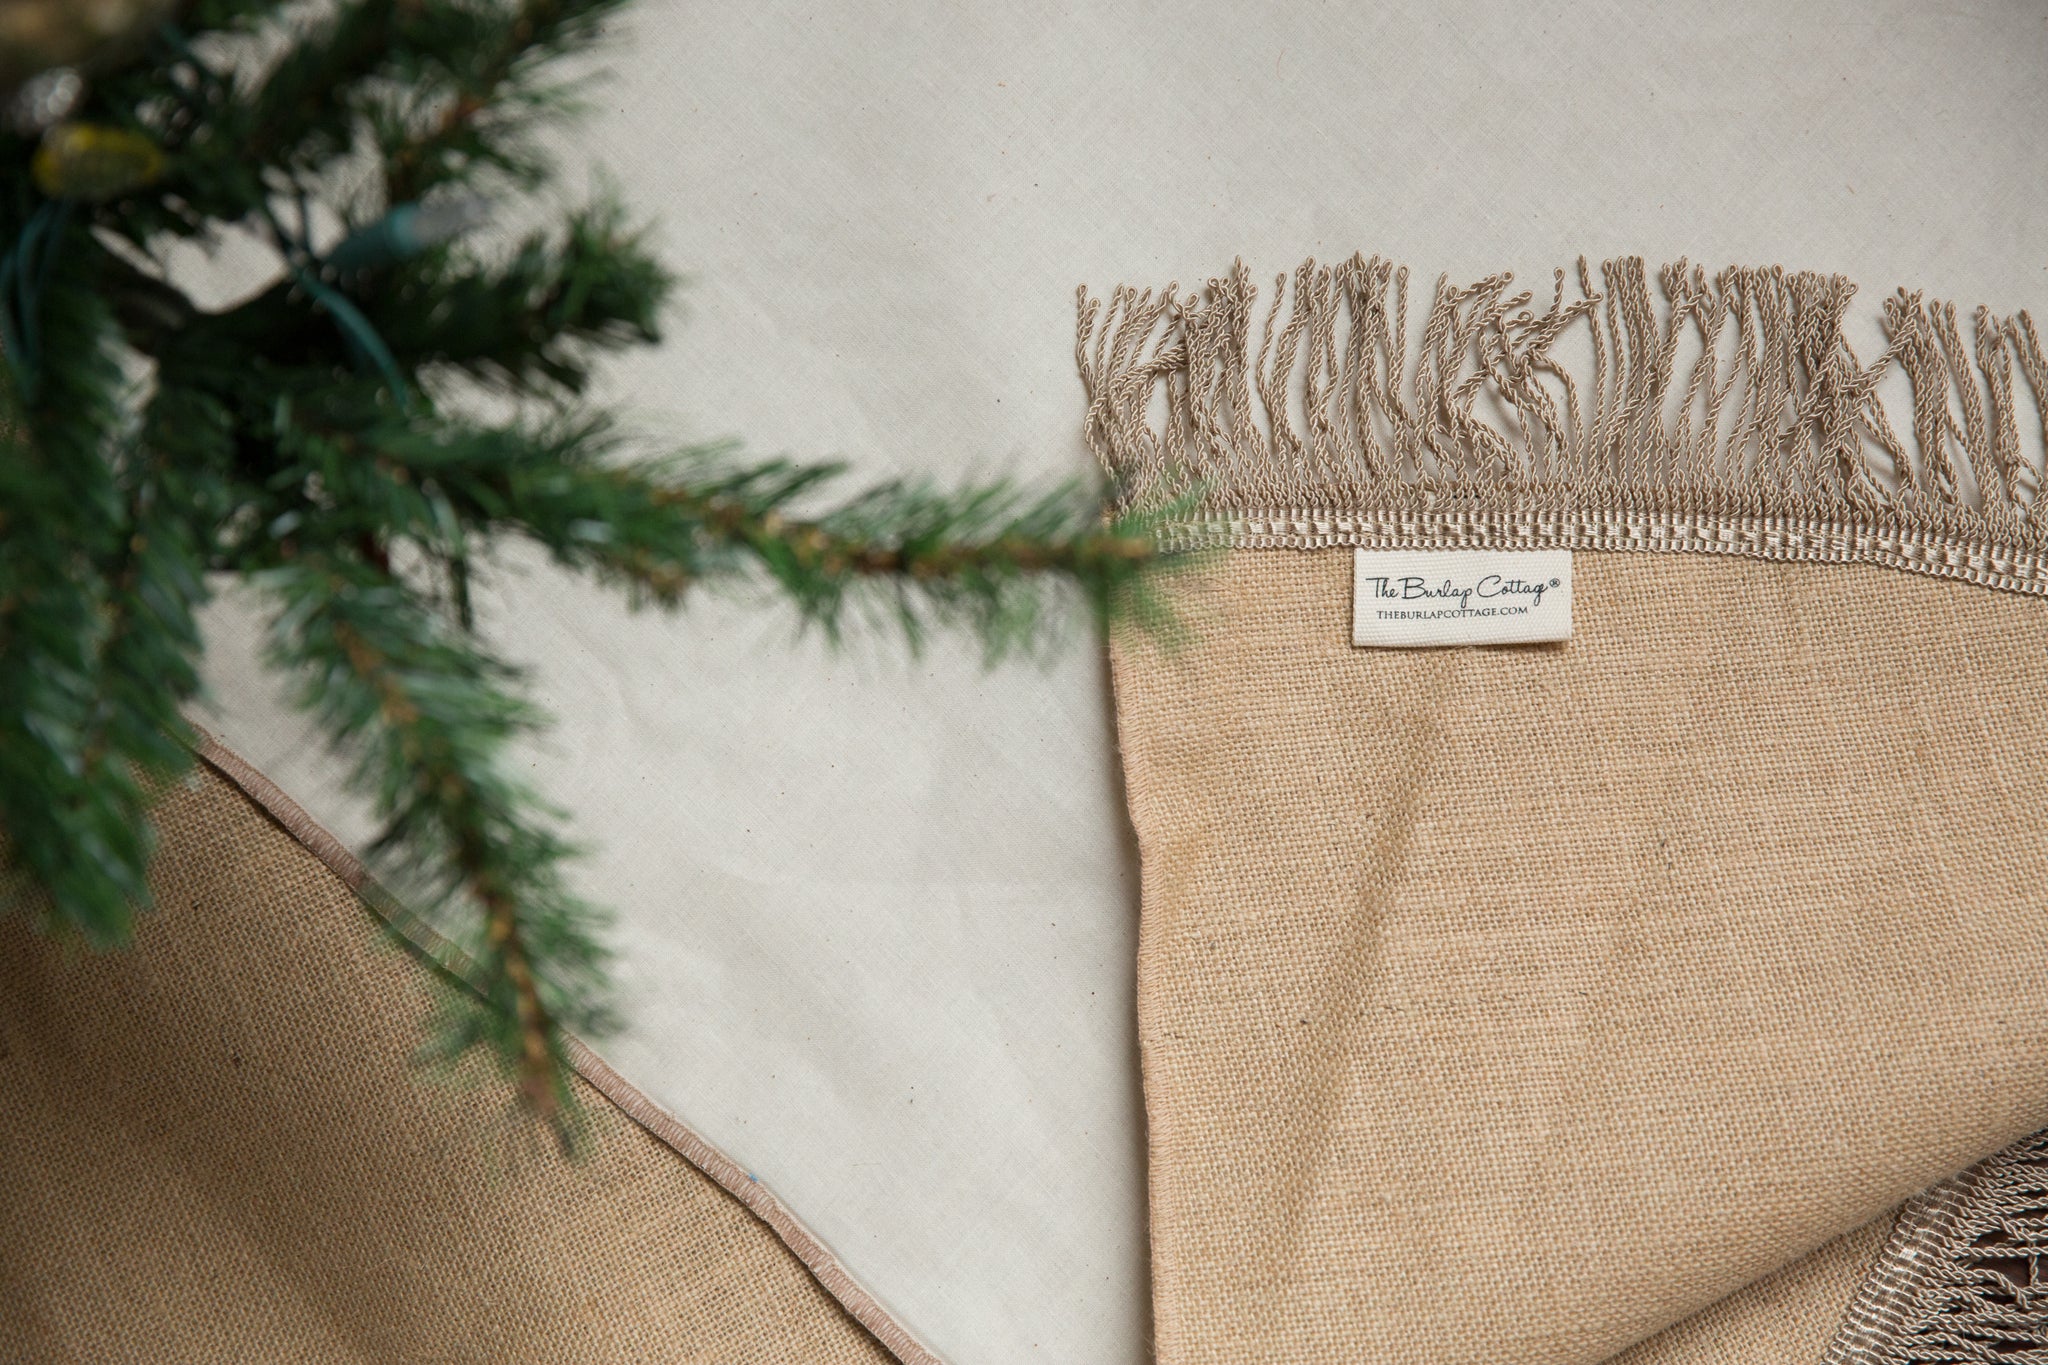
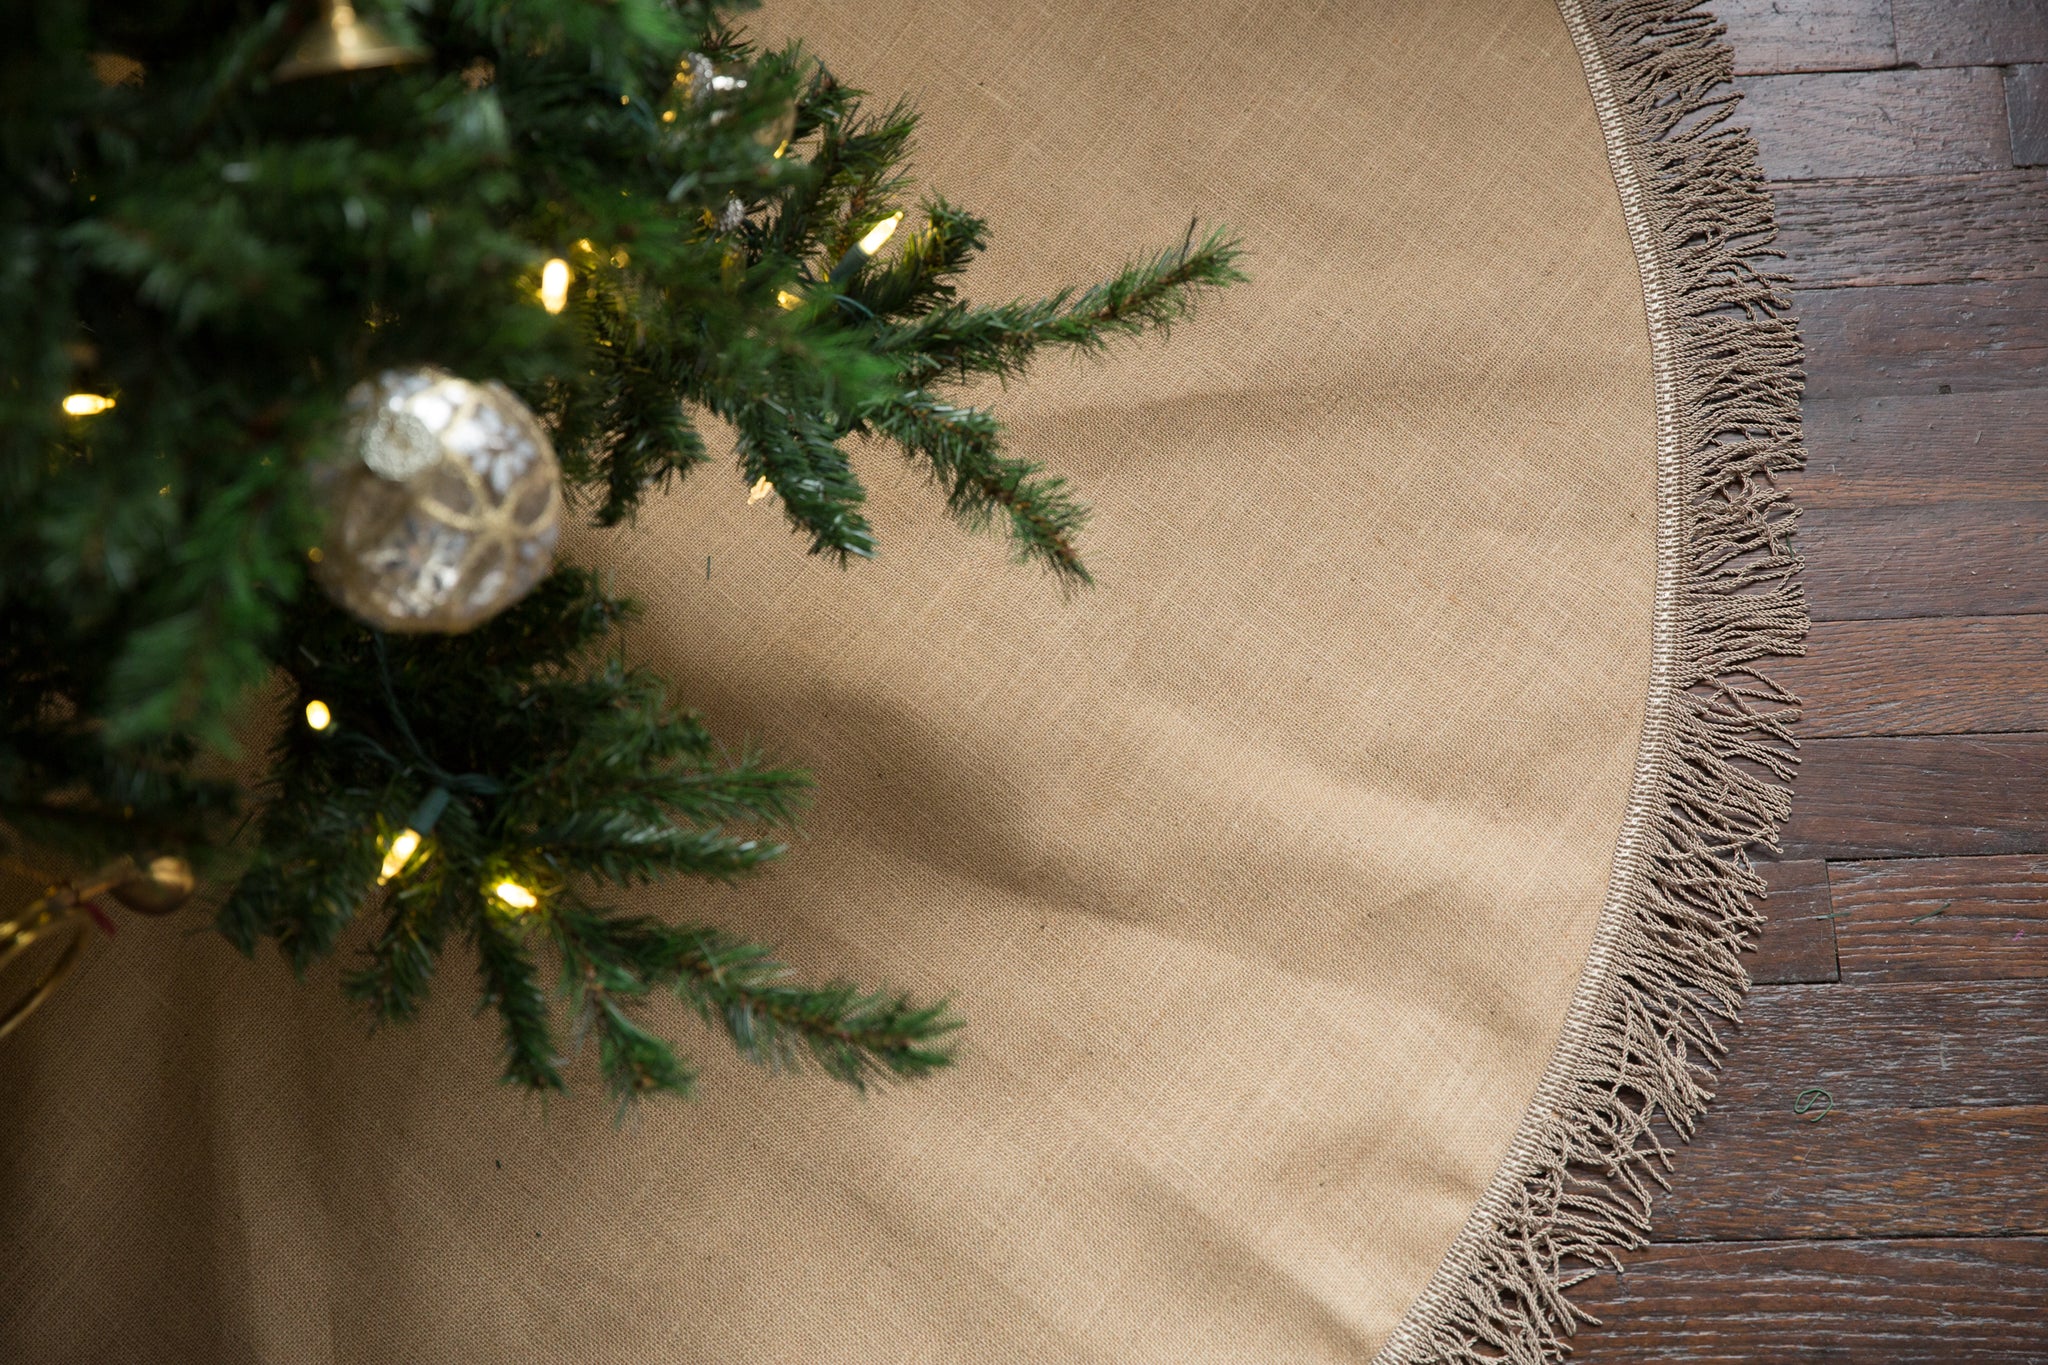
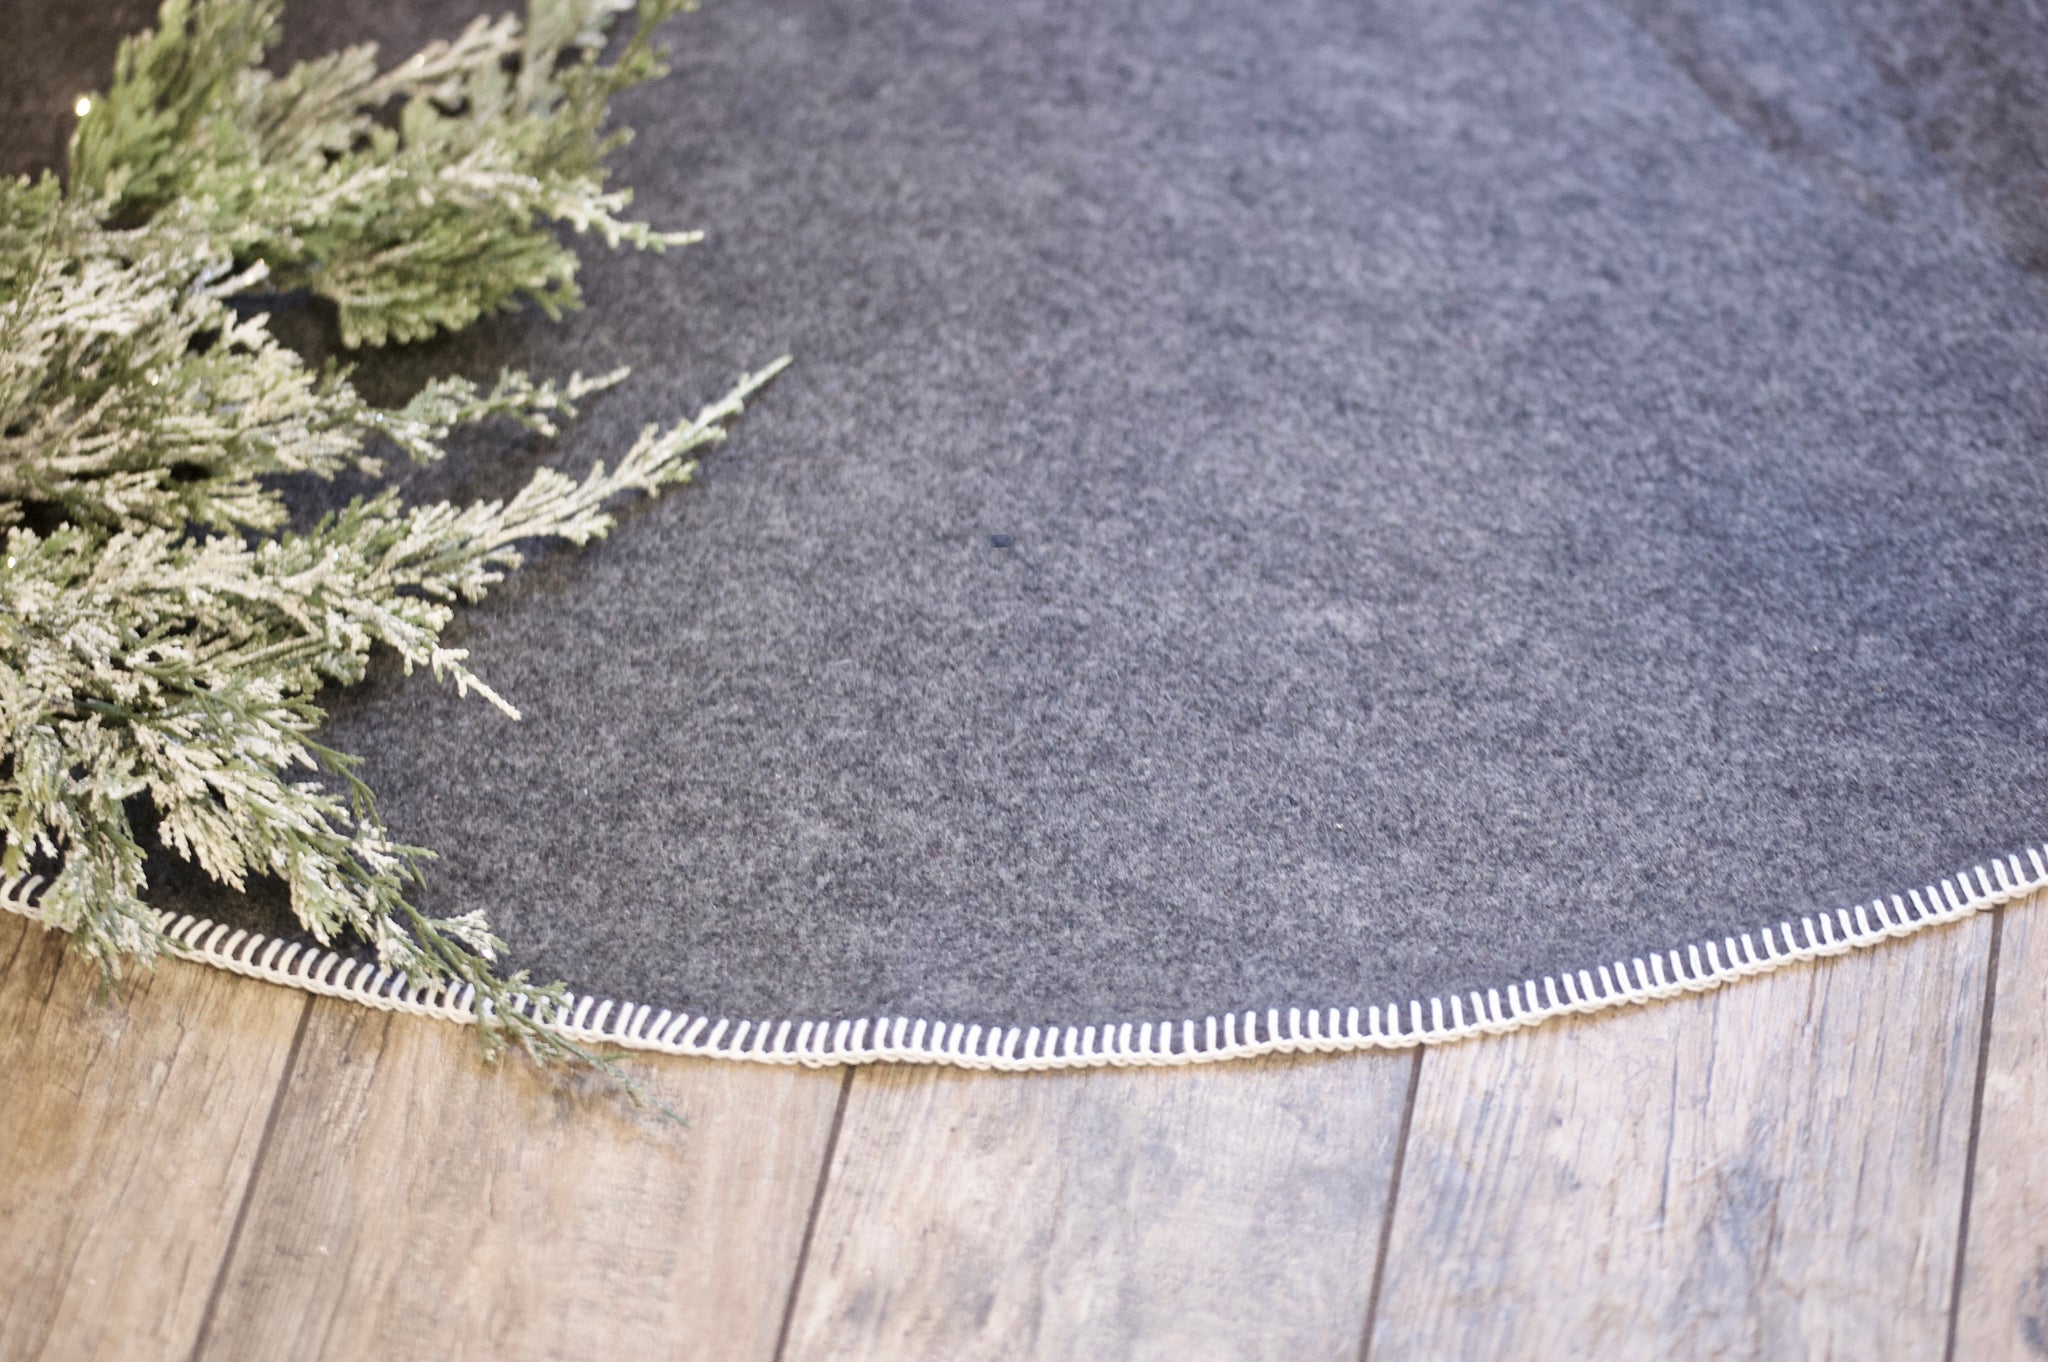
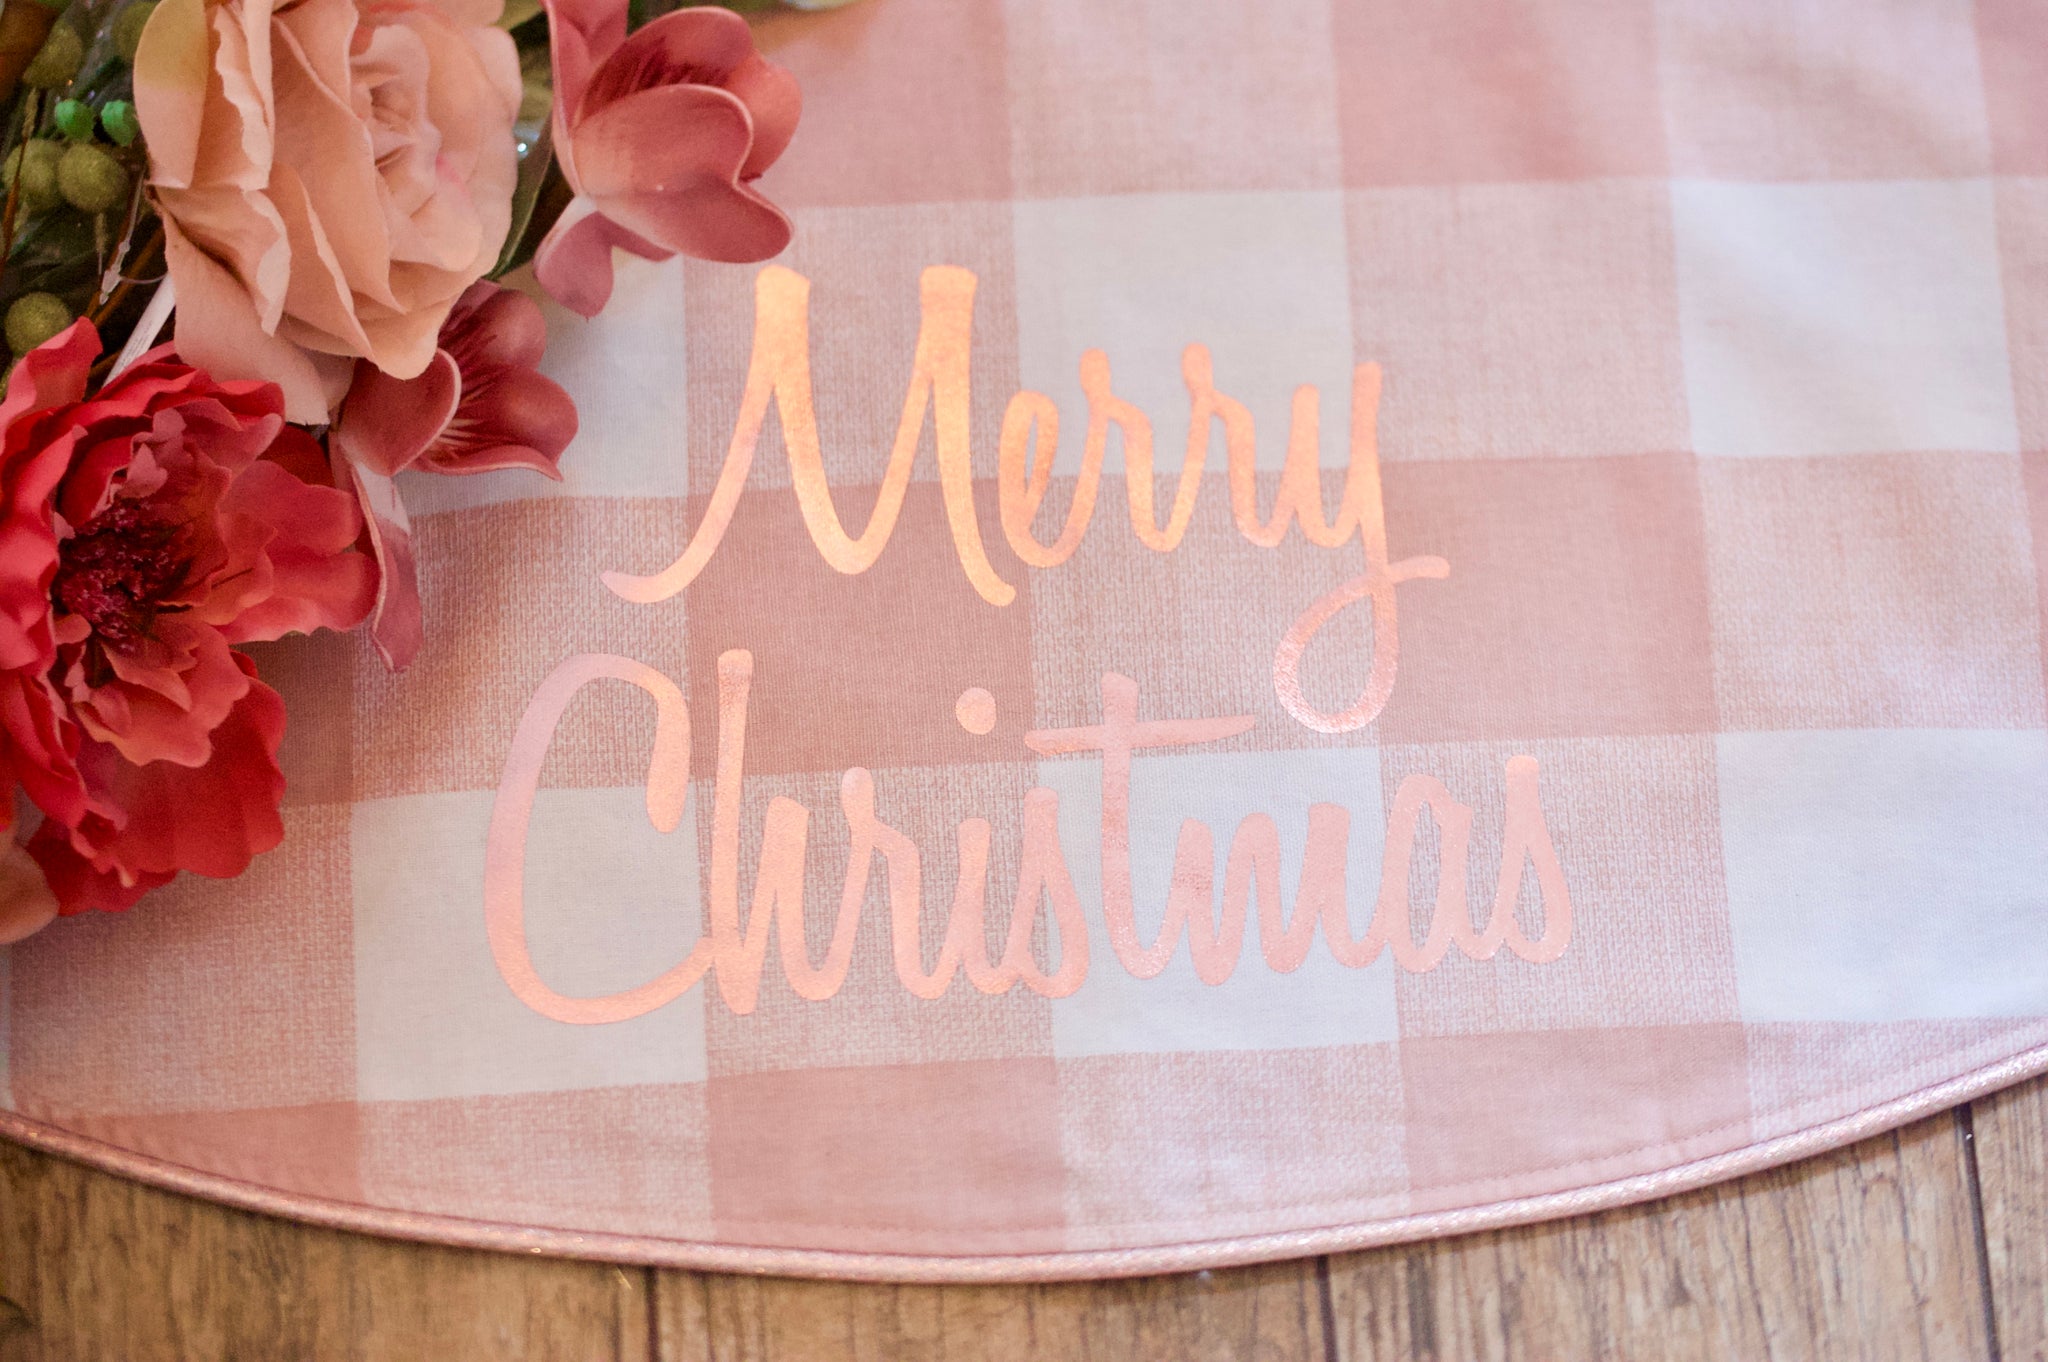
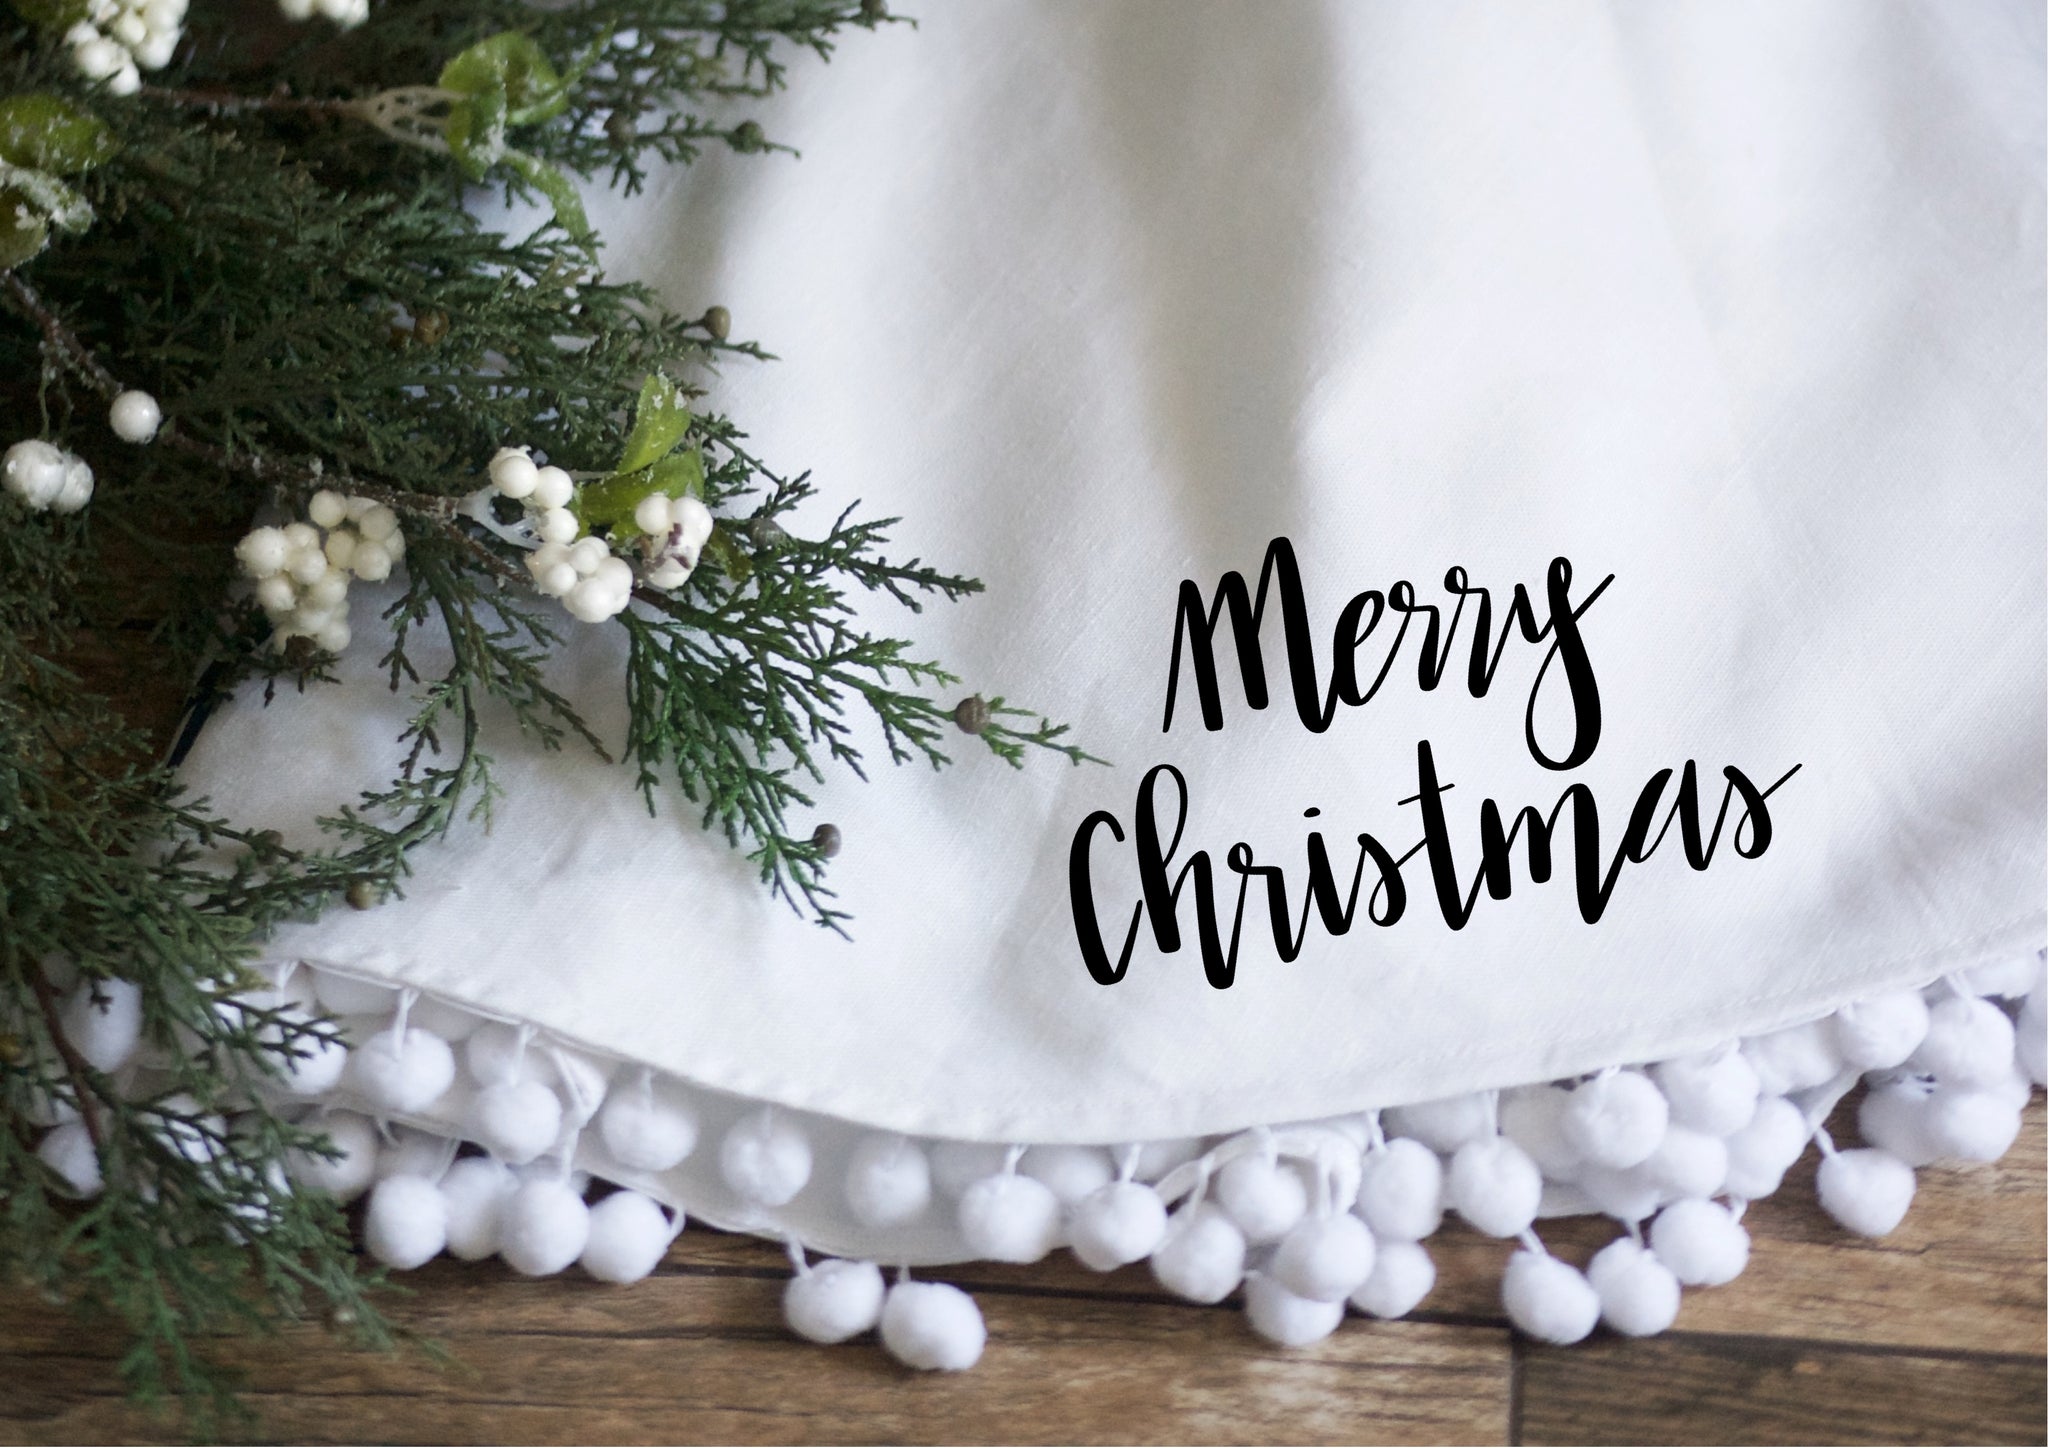
Personalized Christmas Tree Skirts
Add to your Family's Christmas Traditions with a Personalized Christmas Tree Skirt. Customize it with your Family Name or Initial. Makes a great unique Wedding Gift.
-
-
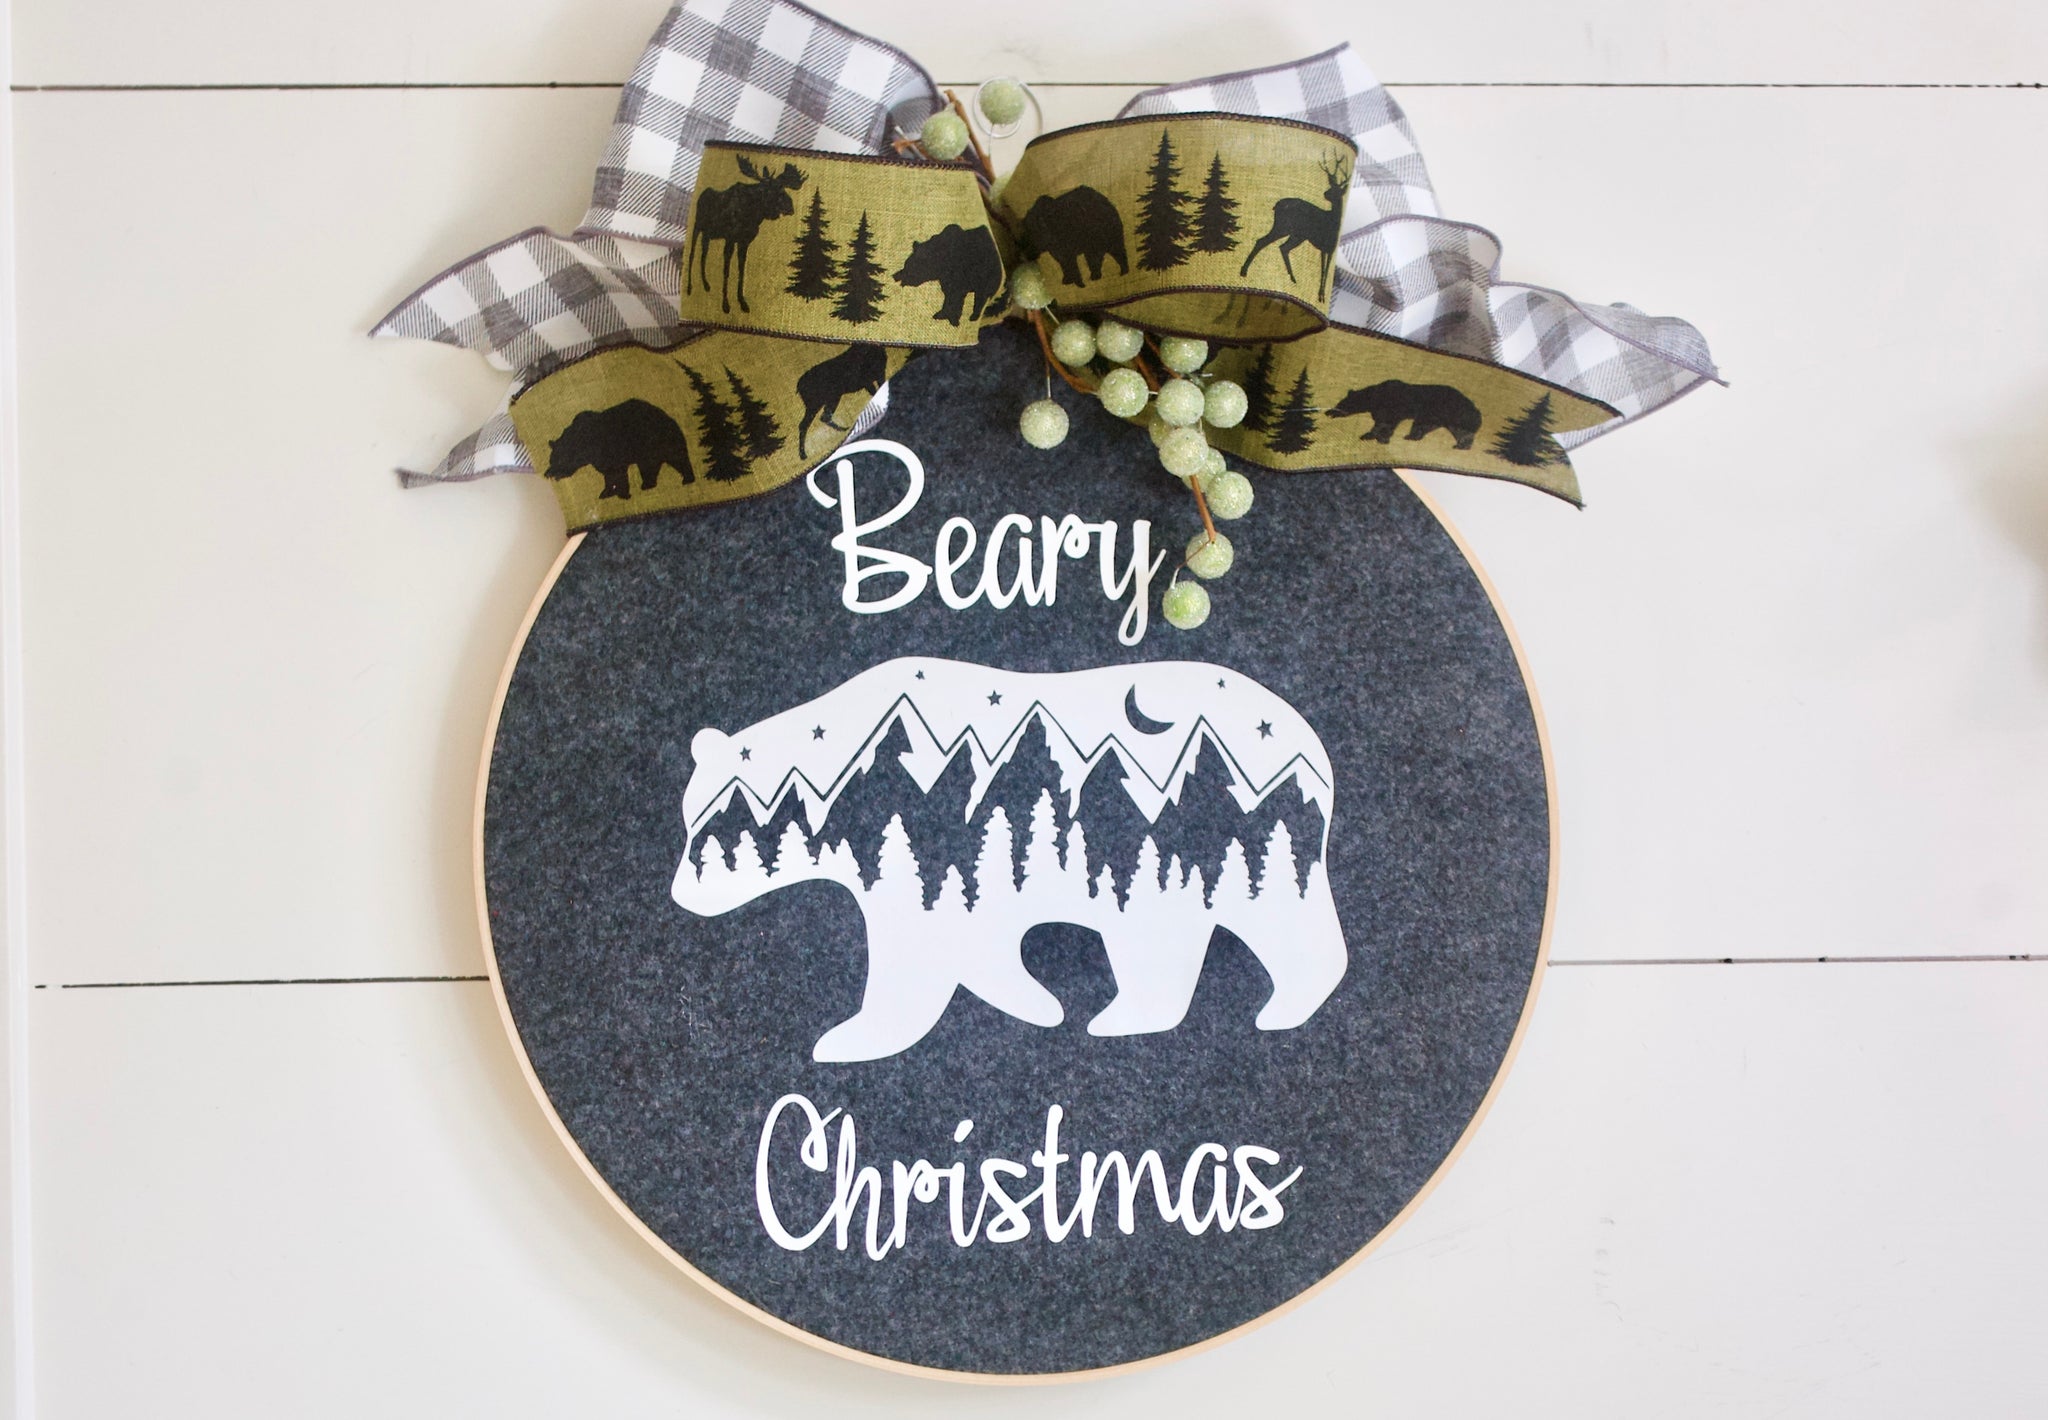
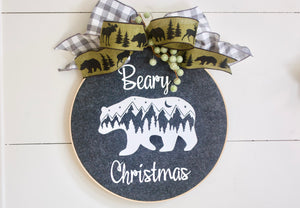
BEARY CHRISTMAS
-
-
-

FELT CHRISTMAS DECOR
-

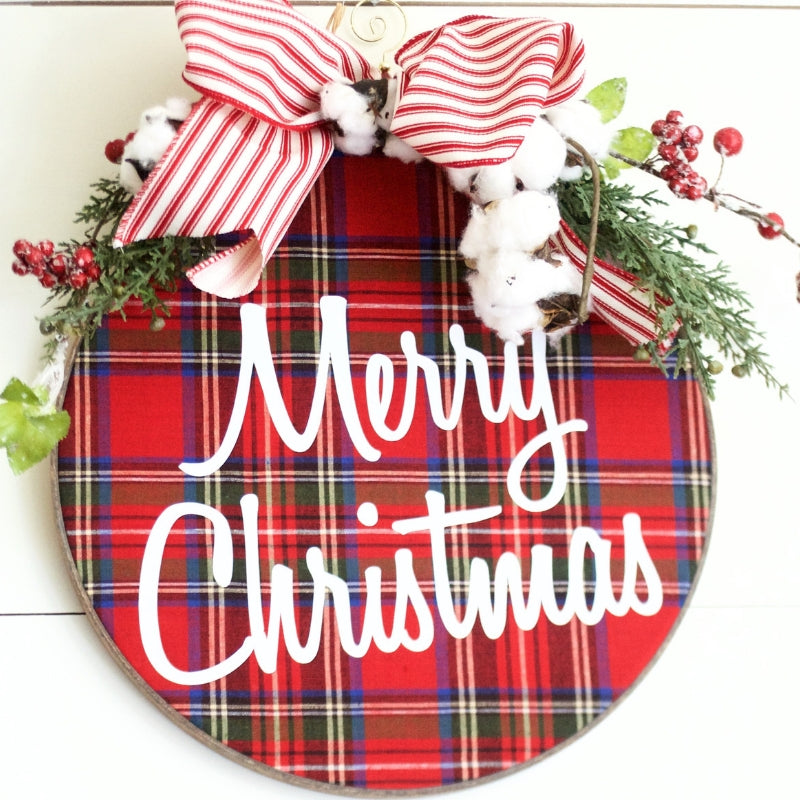

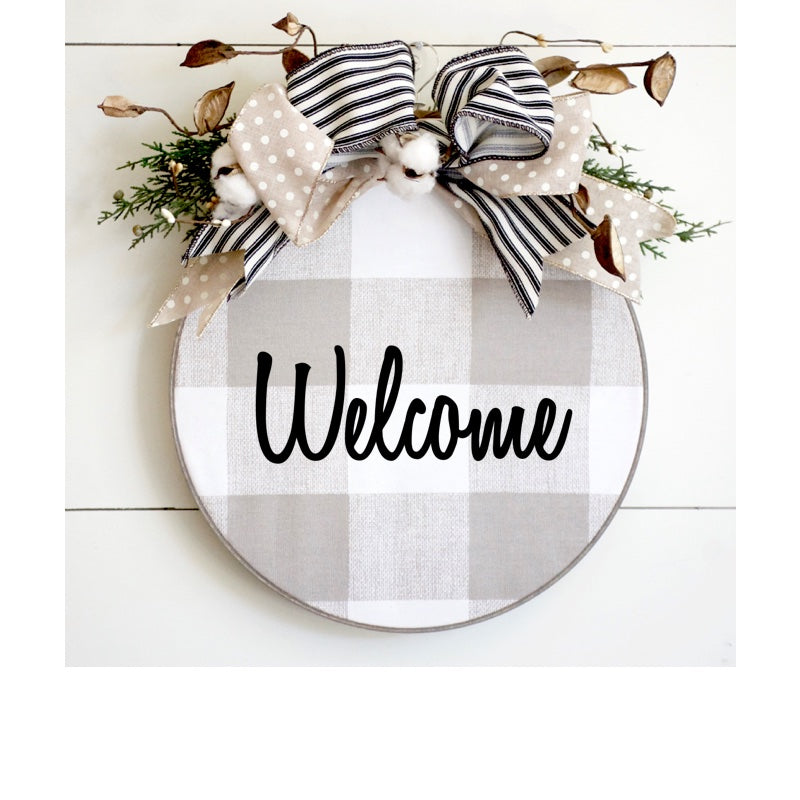
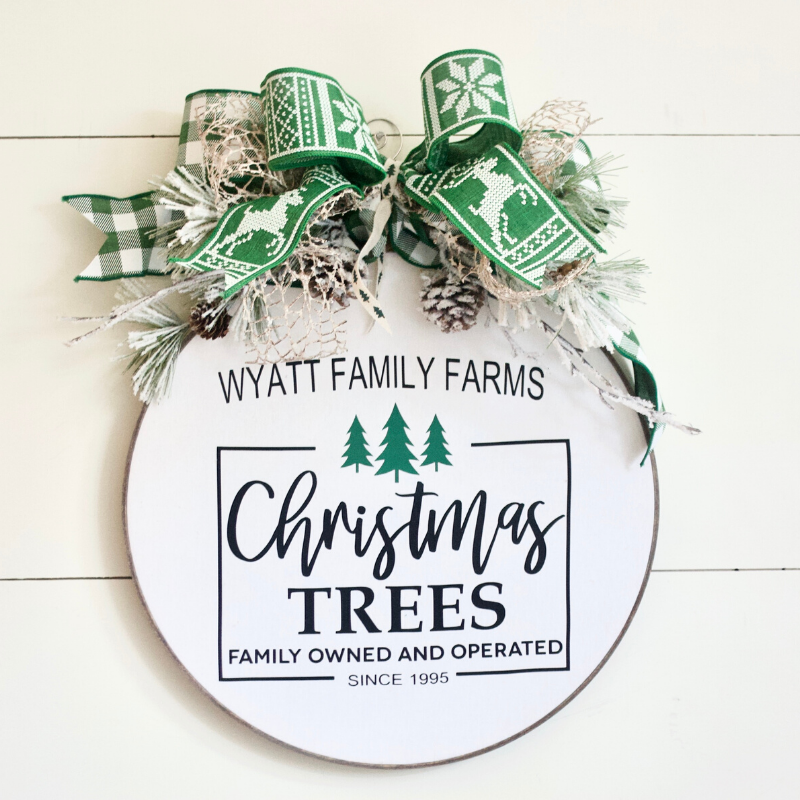
Beautiful Embroidery Hoop Wreaths


Here's What Our customers are saying
- "I completely understand why this is a best seller! BEAUTIFUL tree skirt!"
— Shari S.
Not only was this pillow perfect, but I had to rush the item and TheBurlapCottage pulled through for me. Perfect pillow and perfect timing. Thank you so much for all of your beautiful work! You saved me!
— Kim R.
- "Shipping was very timely and the tree skirt is gorgeous. The workmanship is impeccable."
— Pamela
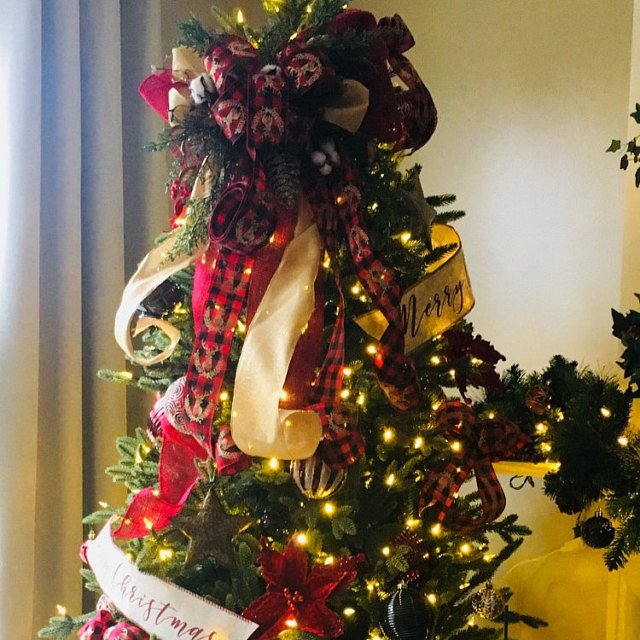
Customer Photo Roundup
The Burlap Cottage® presents actual products in their customers homes.


Follow
Info@theburlapcottage.com
20403 Encino Ledge, San Antonio, TX 78259
© 2024 The Burlap Cottage.
Powered by Shopify